17th
October 2020
The axle blank was measured and then brought to length
in the lathe.
Then the part to hold the wheel was
machined followed by the part which will rest in the
axle box and lastly the end was centre drilled
|

|
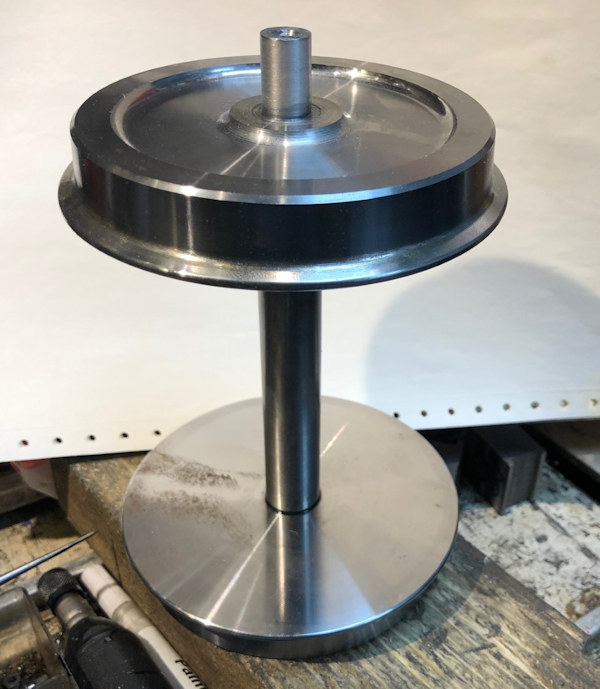
The axle was
then de-greased where the wheel will sit, Locktite 603
applied to axle and wheel and the wheel put on and
turned back and forth a little to spread the 603 and
stood in the recessed piece of timber. Then similarly
the other end was prepared and the wheel put into place.
The Locktite is now left to cure.
|
|
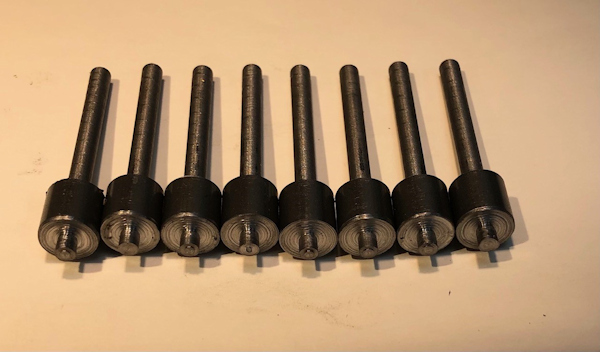
The spring
retained had several simple turning operation to do and
make 8 of them all the same ..
|
|
18th October
2020
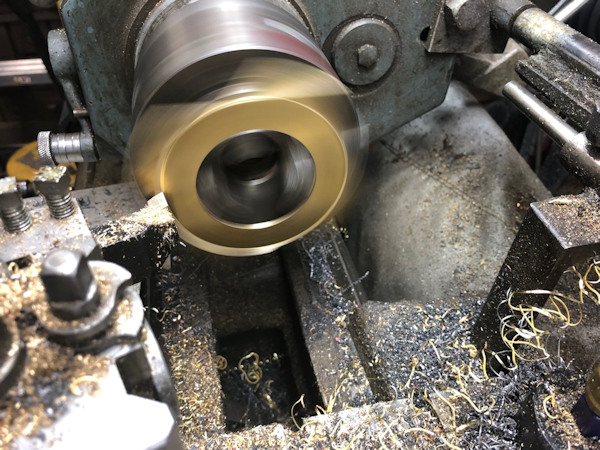
Turning a square piece of Brass round the corners you
can just make out !!
|
|
Ready to
remove when lathe stops and then more progress can be
made to the plate work in brass to attach to the
Chassis.
|

|
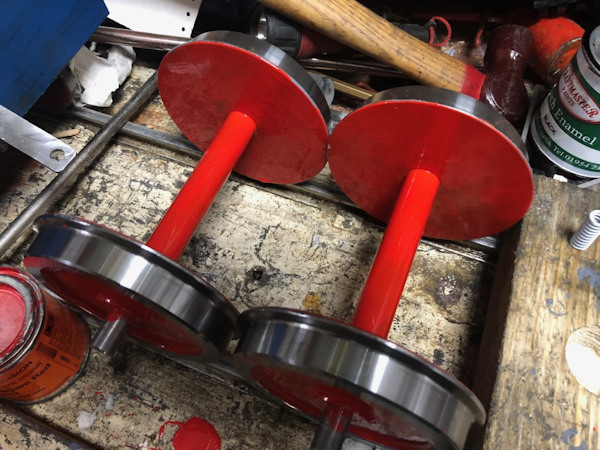
now the wheels
are painted.
|
|
19th
October 2020
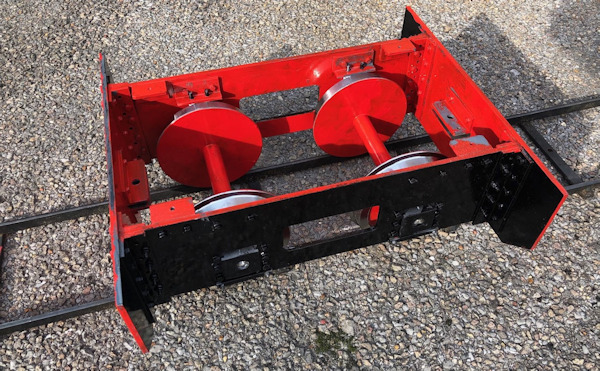
With all paint dry I was able to assemble the various
parts. I had to drill the spring support on size bigger
and then every thing fitted ok!!
|
|
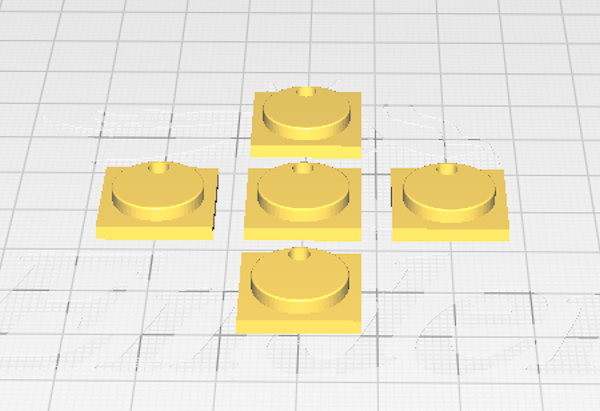
3D printing
the endcaps for the axle boxes 5 printed in case I ruin
one !!
That have a hole in the cap to facilitate oiling.
|
|
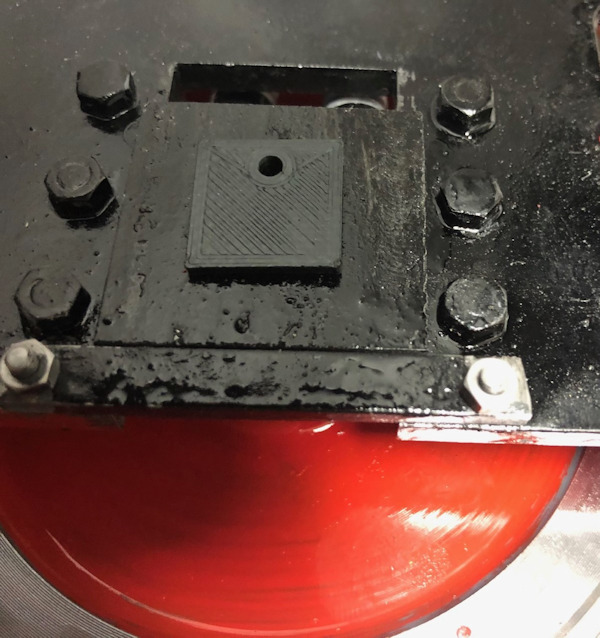
The 3D printed
axle cover fitted a treat with just a gentle knock on
with a hammer.
The hole is to facilitate oiling
|
|
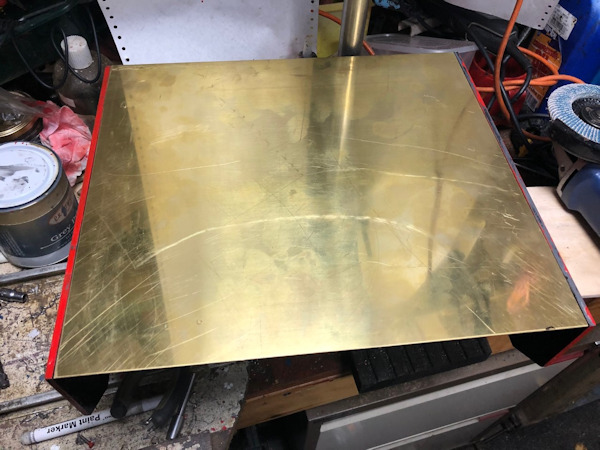
The sheet of
brass was made to fit the location by sanding a very
small amount off.
|
|
Trying for
size and what amendments to make.
The front will be placed 2" back to allow for an
injector cock to be installed and the sides will be
trimmed back by about 1"
|
|
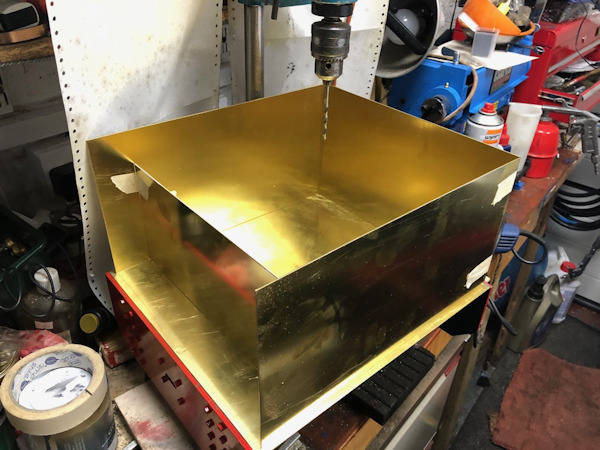
This piece of
kit made cutting the brass sheetfor where the filler
will be an easy job after careful measuring !!
|

|
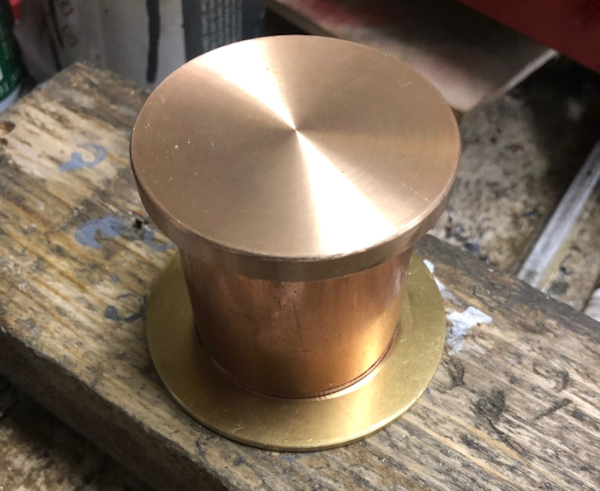
The filler cap
was a simple turning exercise but cutting a small recess
in the copper pipe was a little more challenging as I
had to support the pipe at the outer end !!
The base and pipe now need to be soldered together !!
|
|
20th October
2020
More sheets of Brass were cut to size.I wanted for the
tender |

|
|
|
|
|


