26th
October 2020 continued.
A
make shift spray booth with a turn table and wooden base
the etch primer was applied.
This only took a few minutes and the turn table made the
application so much easier than having to move the
tender round.
The Etch Primer now needs at least 24 hours to properly
cure as the makers instructions states "Never ever apply
two coats of paint on the same day unless there are
clear instructions to do so on the label or technical
data sheet" well there are no such instructions so I
wait until tomorrow.
.
|

|
27th
October 2020
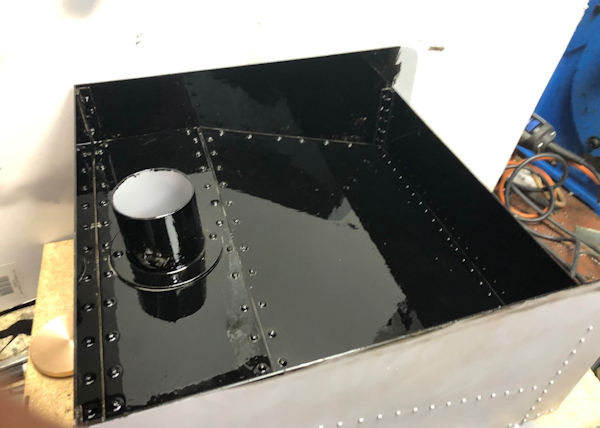
With the etch well cured it was time for some black
paint in the coal bunker !!
|
|
Then later in
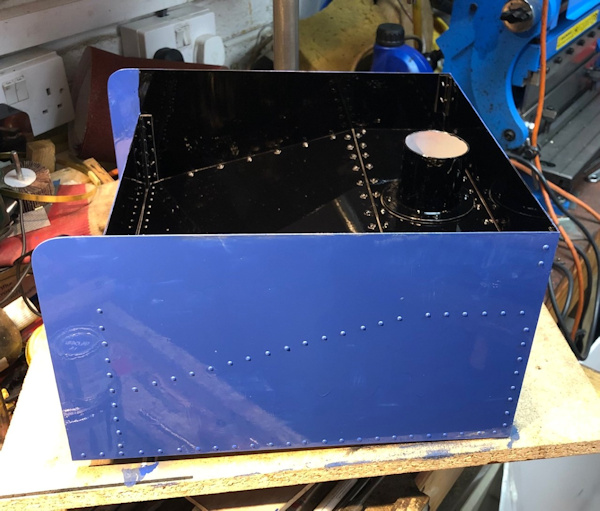
the afternoon I painted the first coat of blue paint
similar to that on the loco.
|
|
28 October
2020
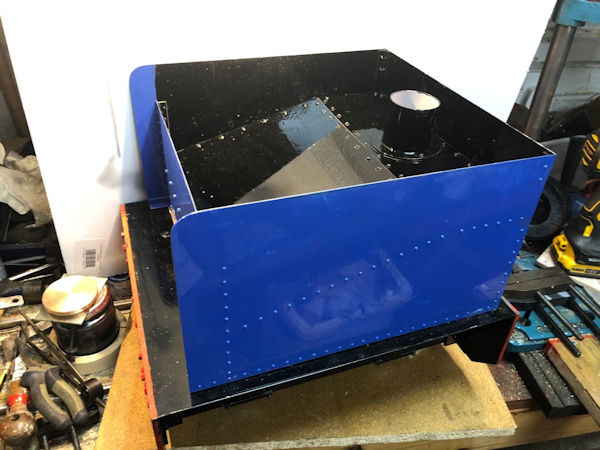
All together for a trial full fit but there is still the
second coat of paint to go on and a few other small
items to complete, such as using counter sink bolts as I
did not mark where the frames of the tender would sit
and by chance four of the bolts are exactly where the
frames need to sit but I have had to order counter sunk
bolts !!.
A track test once the coupling bars are fitted
will be next up.
|
|
29th
October 2020
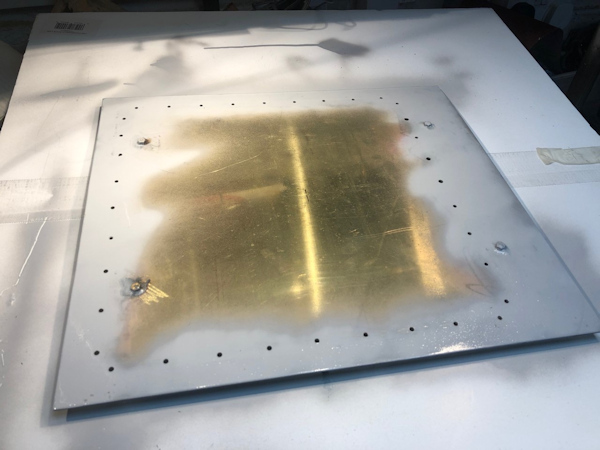
When something goes wrong I find it better to start over
again so the etch primer and black paint were sand
blasted off and new Etch Primer sprayed on. The problem
was that at the front edge I had not sprayed
enough etch primer as I had masked up incorrectly
so the black paint also fell short. It will be fine this
time as also all the holes have been drilled out as
clearance holes for the bolts and four holes counter
sunk.
No rush to paint as the counter sunk bolts have not
arrived !!
Also I have to drill and fit the coupling bars.
|
|
30th
October 2020
So the new coat of Black Paint was applied early morning
and this was dry by late afternoon.
|

|
I decided to
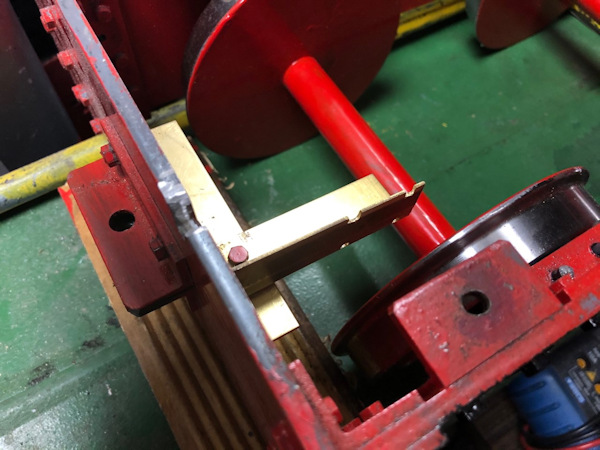
put the towing hook on the out side and this then
allowed me to put a bracket for the Speedo on the
inside. The bracket is made of brass so that there is no
magnetic interference to the sensor as the magnet
attached to the wheel rotates past.
I also cut a grove in the buffer beam to allow the wire
link from the sensor to the display to pass through.
|
|
1st
November 2020
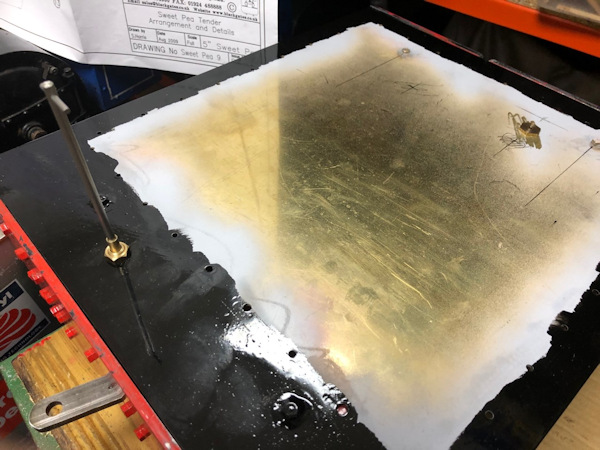
I had to work out where the pipe run could go to avoid
the wheels and side frames. The positions wewre marked
and then drilled 5/16" for the fittings.
|
|
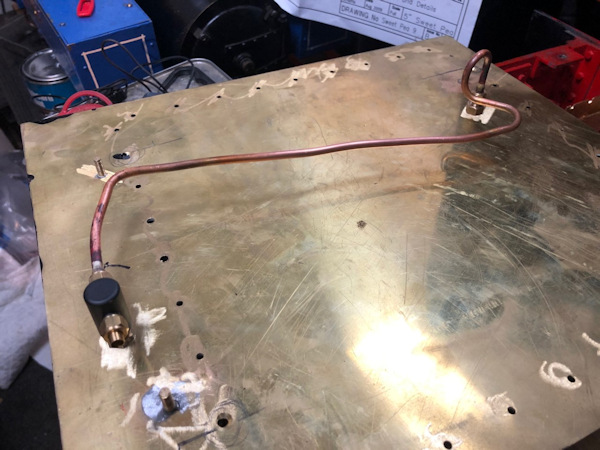
The
3/16" pipe had to be bent to fit. Thanks to a hand tool
given to me by a friend I was able to make suitable nice
bends and with a little adjustment it fitted !!
|
|
2nd
November 2020
Just a single piece of pipe work fitted today to check
that when I have drill the hole in the buffer that the
bends made all fit.
I have to purchase a 36" piece of 1" solid Steel to
extend my drill to make the drilling of the tender
easier, of course there is no way I can use that to
drill the loco so a hand drill for that will have to
suffice.
Still awaiting the delivery of the counter sunk bolts !!
|

|
3rd
November 2020
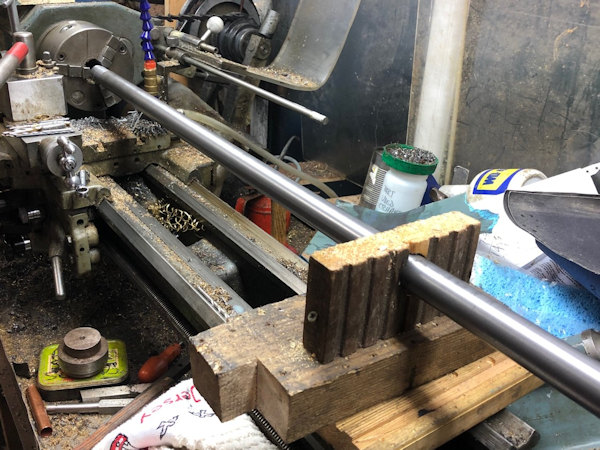
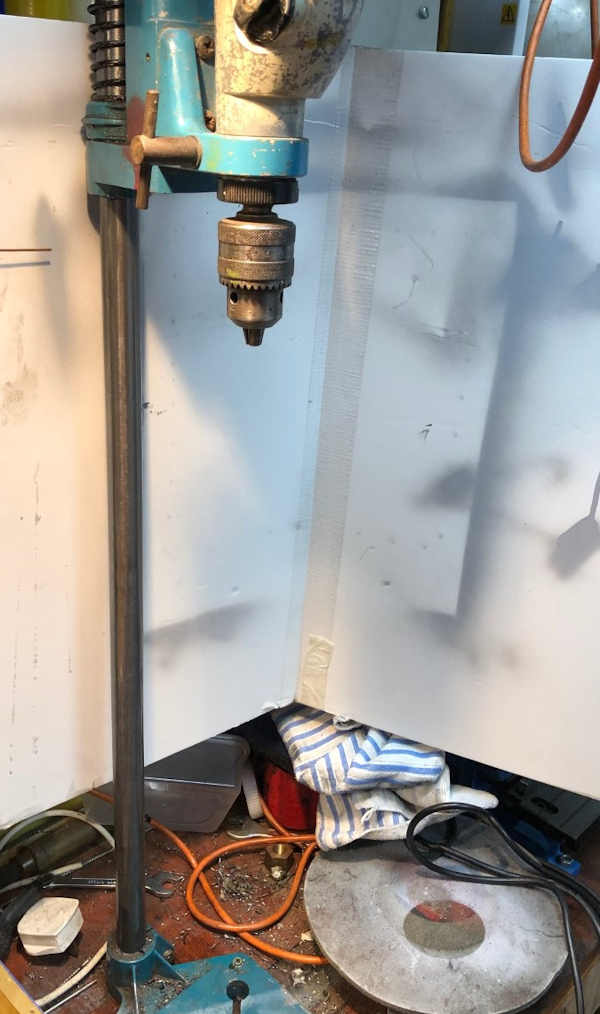
I obtained the 36" of round steel bar but had to machine
the end to fit the base of the old pillar drill. The bar
was too long for the laths and would not go through the
chuck so I make a wooden steady.
This allowed me to machine as needed the diameter by the
chuck and what I could not machine I cut off in the band
saw.
|
|
The new pillar
is installed and drill ready for use.
|
|
4th November
2020
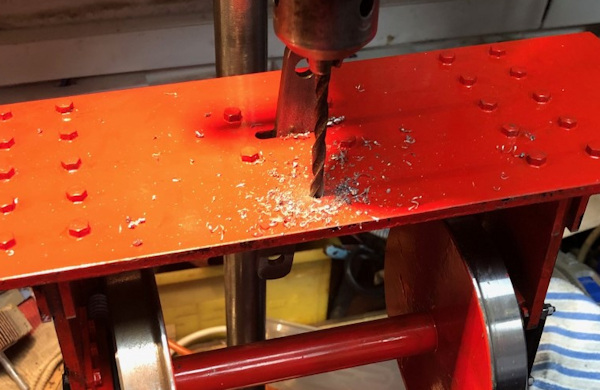
The new pillar worked very well and the hole in the
front buffer beam was drilled with out a problem.
|
|
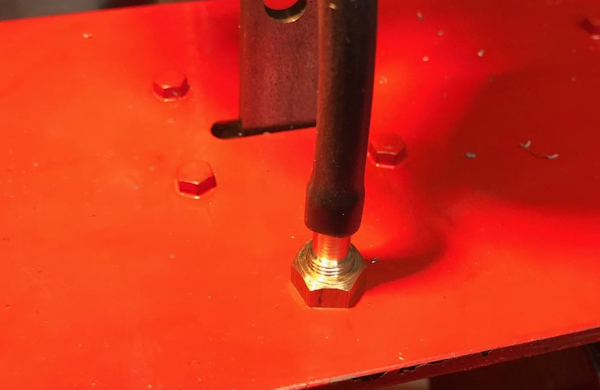
The fitting to
take water from tank on tender to loco was made and
fitted.
I have still to couple up the fitting inside the frames
to the tank fitting.
|
|
12th
November 2020
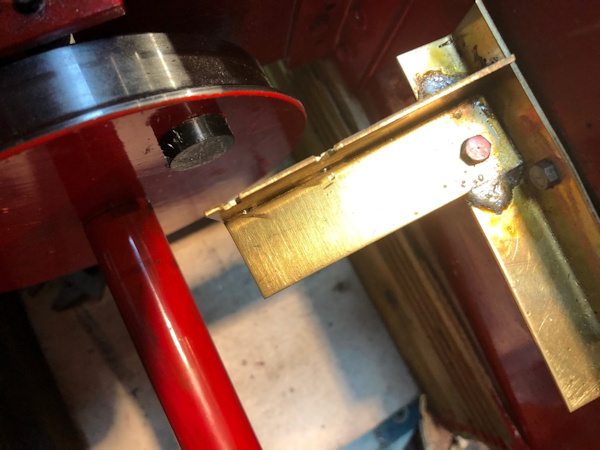
The "speedo sensor" bracket was fabricated from bending
pieces of scrape brass sheet and then bolting together.
The some soft solder was ured to maintain the position
but also to enable to to be changed should that be
needed. The necessary holes and recess were drilled and
filed into place.
I 3D printed a cover for the magnet to give a larger
surface area to stick it to the wheel.
|
|
8th July
2024
|
The speedo has
never been fitted !!!
|


