The Diary of the Building of a 5" gauge Stirling Single |
|
|
|
|
|
|
|
Completion
of the build Part 6
|
|
| 17th
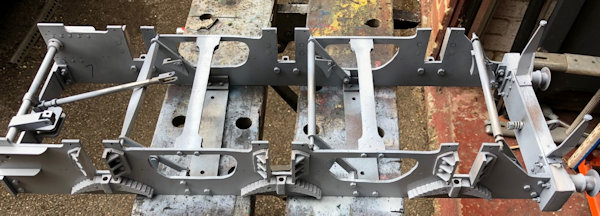
May 2019 Today attention was turned to the Tender. The lid was opened up but sadly three of the 8BA counter sunk screws sheered their head so the head was soft soldered back into place as there are plenty more to hold the lid in place. The water test was successful and the tank was rinsed out after checking the hand pump operated ok. The Tender chassis was given a second light coats of the etch resist paint in preparation of undercoats and then top coats. I was about to make my way to the sand blaster when I tripped and fell heavily curtailing my efforts for the day !! |
 |
|
18th
May 2019
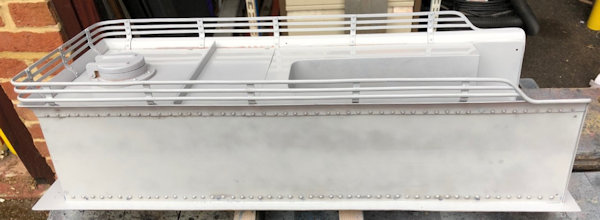
After moving the lights in the sandblaster cabinet I was just able to fit the tender top part inside. It
was a struggle to actually sandblast due to the tight fit but
I did the best I could and the photo shows the result.
|
 |
| The
photo shows the first coat of etch primer and a second may not
be necessary but I need to see it after a night of drying. |
 |
|
19th
May 2019
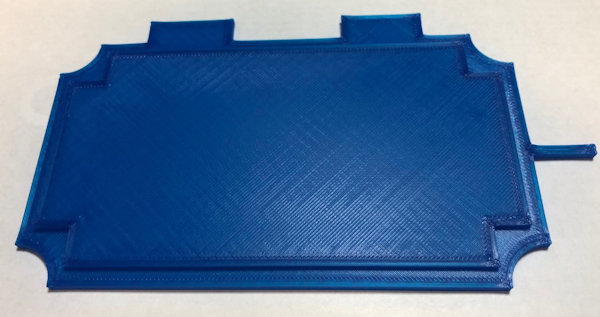
The day started with some 3D design work to make up some masks to help with the paintwork on the tender. The item is actually photographed upside down so that you can see the the edge where the pint brush will run along is not going to actually touch the paint surface !! Then copies of paint drawings from a Book I have were laminated to keep them clean. |
 |
| Underside
of the tender |
 |
|
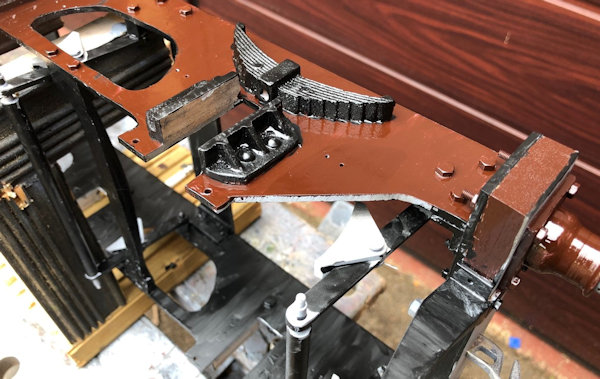
Tender
chassis and I can see that I have missed a bit where black
undercoat should be !!!
|
 |
| Tender
Body fully painted in black undercoat. |
 |
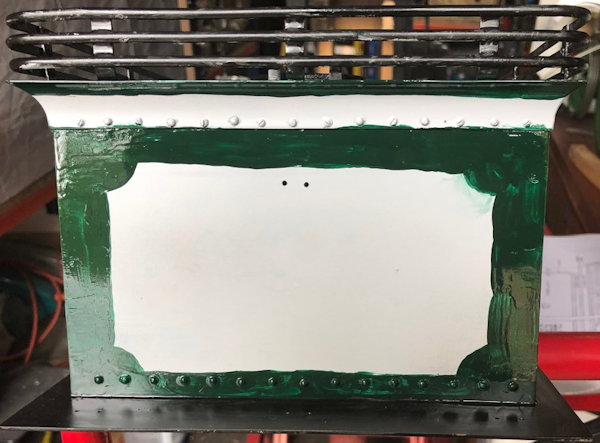
| A late evening try out and as you
can see even though I used the guide shown above it did not work
out well. |
 |
| 20th
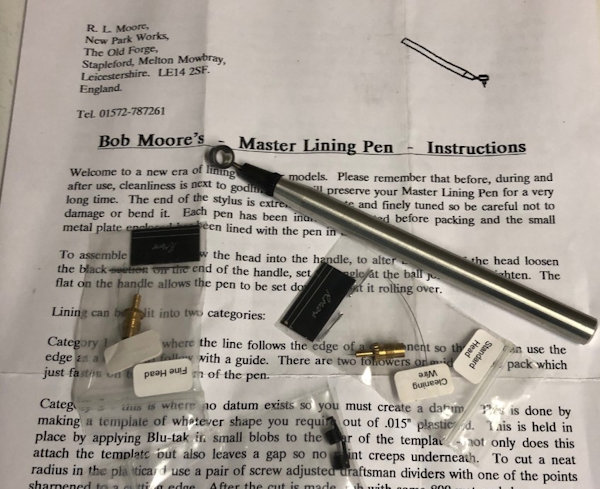
May 2019 Some long time ago and never yet used I bought a Bob Moore's Master Lining Pen and I intend to us it to make the outline of the paint area and then paint up to the line. I hope the results are better !! |
 |
| I
decided that I needed a small paint tray which would try to stop
pot of paint being knocked over and also some where to put down
a paint brush of lining pen. |
 |
| I
made up masks by 3D printing. They did not spread to the full
length to the max size I could do on my printer but they did ok. |
 |
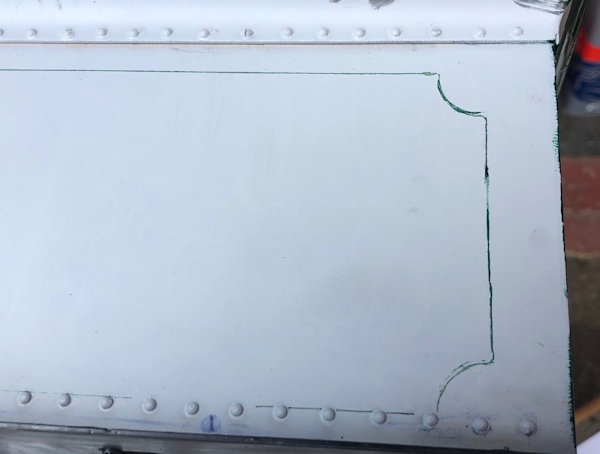
| The
result, not too bad but I did find that the pen clogged with the
the etch primer but it worked. |
 |
| I
am quite pleased with result. |
 |
| This is the first coat
of the second colour. All hand painted and I am pleased with the
overall result. |
 |
| 21st
May 2019 Another day painting but this time I thinned the paint to go into the Bob Moore's pen by 50% and it flowed much better with no effort at all. With the outline indicated the dark green colour was applied. After a break to let the paint dry sufficiently in the warm I painted the light green. With different lighting the green coulours look completely different and that is the reason that matching at the NRM many years ago gave us false colours!! I also painted the light green on the rear panel. |

|
| 22nd
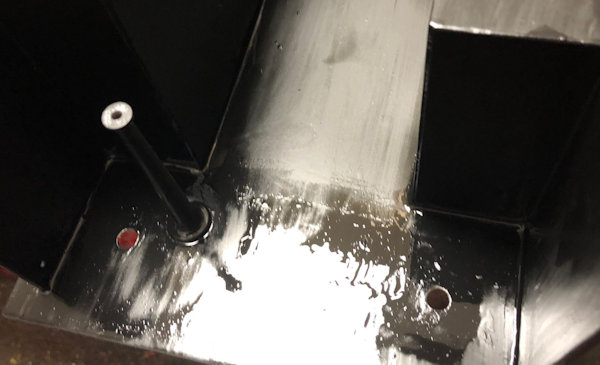
May 2019 Early start and more painting to improve the rear panel top edge light green and a second undercoat of black on the under side of the tender. Later in the afternoon the location of the water feed to the injectors marked and drilled and more second coat black applied to the top of the tender. Masks made up on the 3D printer for the inside lines to go on the tender side but still to design the 3D model the rear. Early evening and over 12 hours since the second coat of undercoat was applied to the bottom of the tender I decided to give it a coat of black gloss and all went on well. |
 |
| 23rd
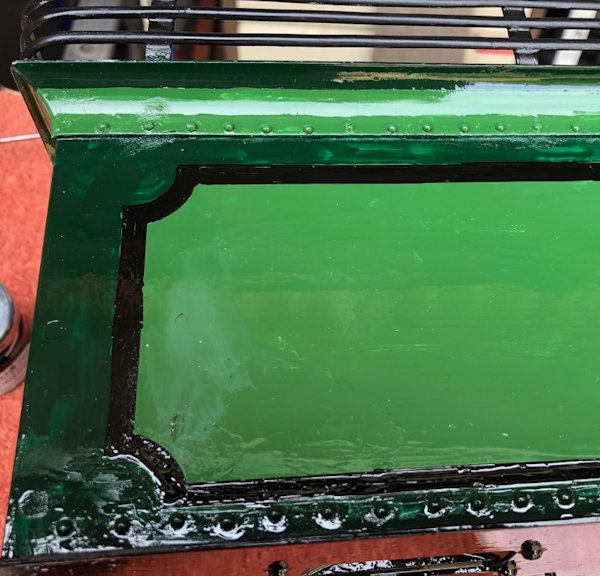
May 2019 I decided to try out my new lining pen called the easi-LINER (click name for link) and it had 4 nibs including a 1mm nib so that was the one I chose. The new masks made yesterday and the original one were put to goo use and the pen with the paint modified with Ronson Lighter Fluid it flowed very well indeed. Then I decided to fill in between the two line using a sign writer's brush with 1" bristles and that worked well too. Each side of the black 5mm lining there will be white lining as per the drawings I have of the painting and lining of the Stirling Loco. The dark and light green paint still need their final coats of paint. |
 |
| 24th
May 2019 The lining of the other main side of the tender was carried out and looking just like the other side !! |
|
Link to next page. |
|
