The Diary of the Building of a 5" gauge Stirling Single |
||
|
|
||
|
|
||
Completion of the build Part 16 |
||
| 8th
October 2019 Today was a day of easing parts to the right place particularly pipework when the boiler was back in position and all taking a long time. The reverser arm was adjusted The boiler filler pipe from the top of the axle pump was adjusted but kinked so may need to make another The connections leading to the tender at rear of engine were made tight BUT that still leaves the whistle to be installed the sight glass water gauge also the pressure gauge and connecting up the pipes from the super heaters .... |
 |
|
|
9th
October 2019
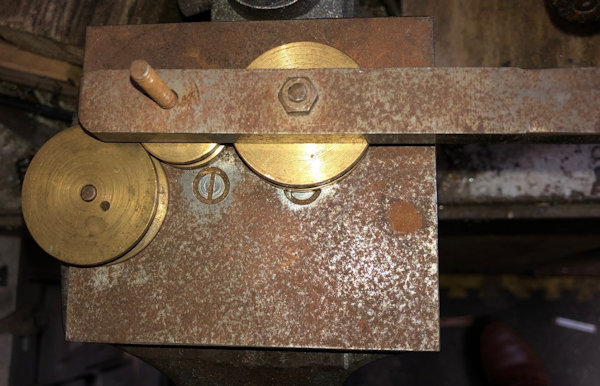
Not being prepared to put up with a kinked pipe feeding water to the boiler from the axle pump so I decided to resurrect my pipe bender from the early 1980's when I was making my Sweet Pea locomotive. It may look a bit rusty but it did do the job. The design is from my head after looking as many designs on the WEB. |
 |
|
| The
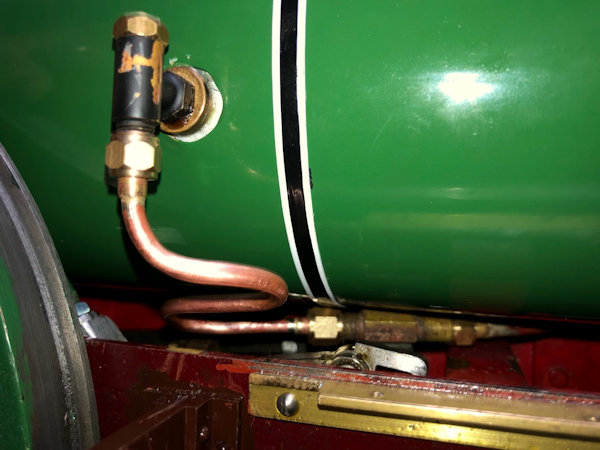
NEW piece of pipe now fitted to the engine and boiler back in
place. The bends are much better and actually slightly more direct following the curve of the boiler. You should be able to see that there is very little space between the boiler and the top union of the axle pump This piece of pipe is actualy hidden behind a piece of place work when the engine is in running order but for the Steam Test that part of the plate work will be left removed so that a finger on the clack can prove it is working as with cold water through it the clack will be cold !! |
 |
|
| In
the afternoon I concentrated on connecting up the whistle. When completed the engine was run up on air at LOW pressure and all checked out well except for the regulator which was leaking at the rear. An application of gasket sealer is required !! |
 |
|
|
10th October 2019 1. the regulator does not operate All sorted 2. Make the boiler door catch and fit Completed 3. Sort out the coupling to tender Completed 4. Fix chimney to smoke box Completed 5. Amend the fixing of the cover plate above oiler Completed 6. Sort out axle pump as will not fit under the boiler Completed 7. Provide the
blower outlet in the smoke box
Completed
8. Fit lugs on
the side of the boiler where it will sit on the frames
adjacent to the firebox Not required boiler sits level
9. The main
Painting Completed
10. Make up
the Cab spectacles All
sorted and glass fitted
11. Pipework to whistle Completed 12. Pipework
to axle pump -- Completed
13. Pipework
to injector Completed
1. Connect
pipes from super heaters to the steam chests. Completed on
11th October 2019 see below
2. Seal up the bottom of the smoke box so that a vacuum can form to draw the fire Completed on 12th October 2019 see below 3. Pipework to
to dummy
whistle
4. Sight glass fitting need aligning and glass fitted Completed on 14/15 th October 2019 see below 5.
Complete fitting of banjo to blower. Completed
on 12th October 2019 see below
6.
Install the injector water valve operating levers. Completed
on 14th October 2019 see below
7.
Check the bolts are tight holding the firebox grate.
8. Fit
the fire door keeper. Completed
on 15th October 2019 see below
9.
Make up 4 Auto Drain cocks for the cylinders.
10.
Make up a bung with 1/4" male to fit safety valve
thread and the pressure test rig.
do more lining
out !!!!
|
||
The gasket sealer was applied to the regulator and after a wait for the solvent to evaporate the two parts were brought together. After a further wait the parts were further tightened down and more waiting until fully cured.. The excess will be removed in due course. A support for the whistle was made up from brass sheet and bolted into position to prevent the whistle bouncing around during the time the loco is being used. |
|
|
|
11th
October 2019
The
excess of the sealant to the regulator was cleaned off.
The
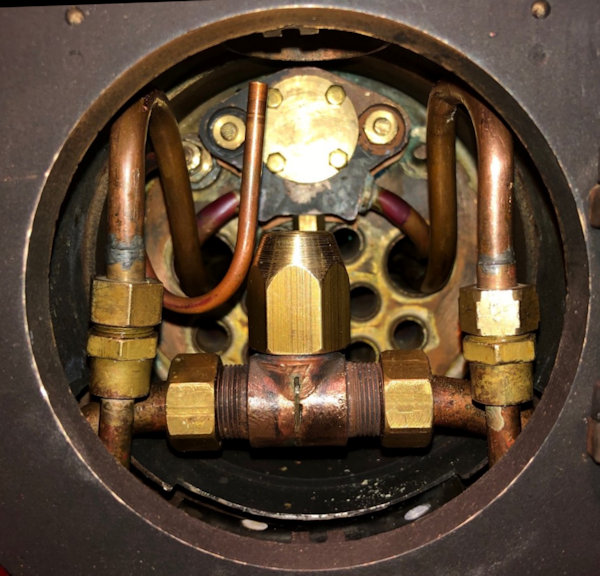
smokebox super heater pipes had to be connected up to the
steam chest pipes. There is so little space in the smokebox
that putting four fingers in two from each hand was a tight
squeeze. After an hour I had succeeded is tightening both nut
down without cross threading them.
Also the blast nozzle was checked for alignment and that of the blower outlet. The
check for leaked found a blocked pipe to the pressure gauge
which was remade and now the Pressure gauge show the pressure
of air when put in the boiler (less than 60PSI for safety)
When
the regulator was opened I am pleased to report that the
driving wheels did turn forwards and backwards speeding up as
the regulator was progressively opened and conversely slowed
when closed, thus a good step forward.
I
still need to fit the blow down elbow and valve and the water
gauge ..
|
 |
|
| 12th
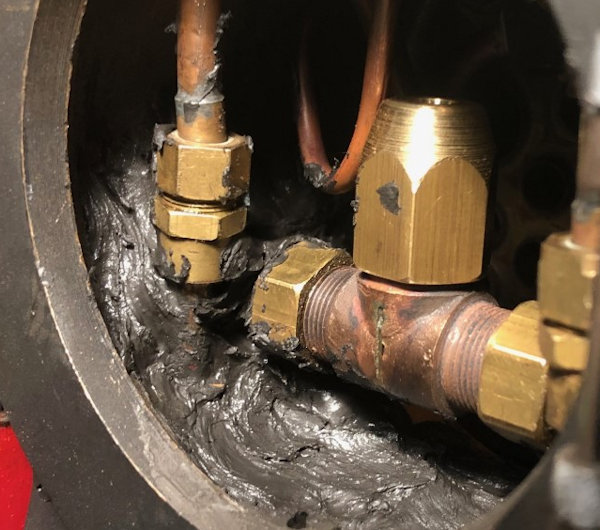
October 2019 The smoke box must be sealed to ensure that a vacuum can be developed to draw the fire through from the furnace. As can be seen there is a lot of space to fill. |
 |
|
| High
temperature mastic has been used and I hope it does seal the
smoke box !!! Additionally today the drain down valve was put in the drain down location using Loctite 524. Additionally a support may be needed if the sealant does not hold it in position. The banjo to the blower was also tightened up. |
 |
|
| 13th
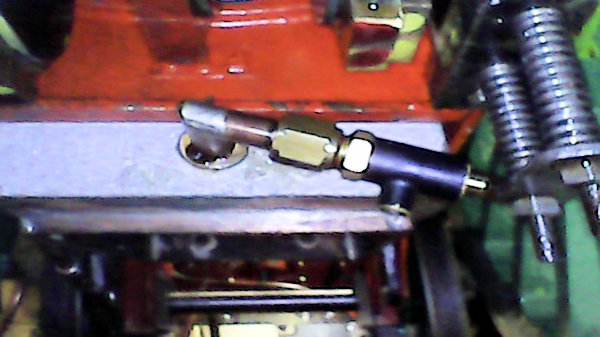
October 2019 I was able to borrow an endoscope, which had its own built in led light source, from a Radio Amateur friend and looking in the smoke box all looks sealed up well.. Then I took a look under the chassis and saw that the Blow Down pipe looked all ok all ok. |
 |
|
| I
needed to check that the axle pump worked so it was coupled up
to the tender feed and also its bypass. The photo shows that the pressure from the pump creates quick a display!! |
 |
|
| 14th
October 2019 The on / off operator had to have its operating leaver attached. As I wished to have it pointing forward when open to ensure this was correct I removed the valve and set it fully open and the replaced it in the tender. I decided to use Loctite 603 to set it in position rather than a drill and pin. The other operator was in the closed position and as it will not be used for the moment as I have only fitted one injector a blow down the pipe confirmed it was off !! |
 as as |
|
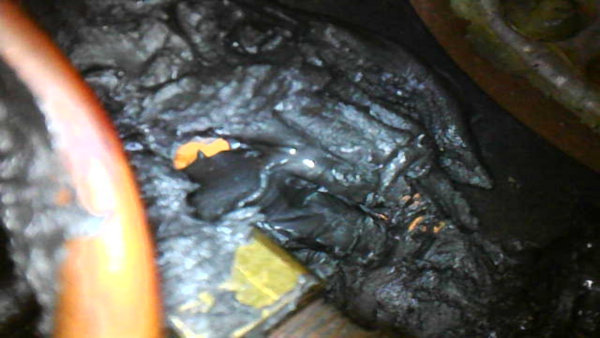
| A
view inside the smoke box using a tiny camera with LED lighting
I was able to check that the holes around the pipes seem to be
well sealed up!! |
 |
|
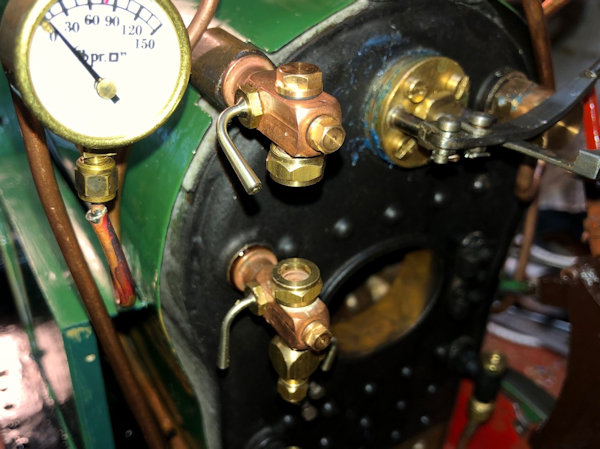
| The
water gauge fitting installed but the glass will follow after
the Loctite 524 has cured!. I checked the alignment using a steel bar machined to size. |
 |
|
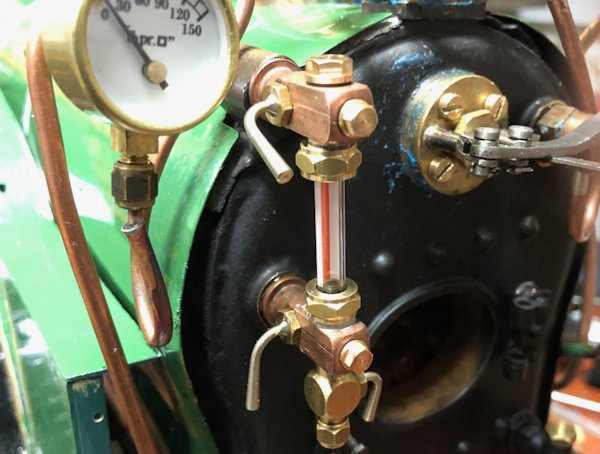
| 15th October 2019 Water gauge glass installed. I have used the red line type as it is easier to see the water level. |
 |
|
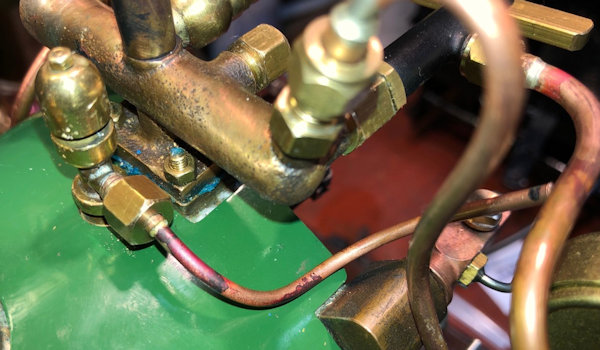
| The first stage of
connecting up the dummy whistle. The union with 3/16"x40 was
machined then the nipple silver soldered onto the pipe and the
assembled and bent to shape then cut to length. |
 |
|
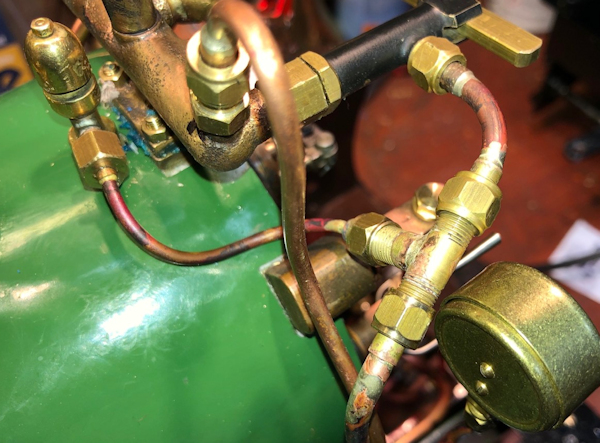
| I
decided to make up a very small tee junction part which would
accept the 1/8" pipe and the 5/32" pipe of the original run to
the whistle. I nice piece of machining and silver soldering. Slight adjustment had to be made to the route of the pipe to the whistle else it would have come through the front of the cab, even so I will need to make a small nick in the cab to make room to the dummy whistle steam pipe. A very satisfying afternoon's engineering. |
 |
|
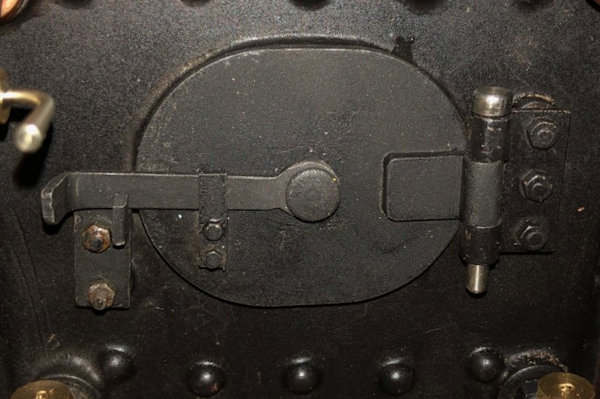
| The latch to the fire
door was refitted and the excess bolts cut off. The door was
rehung with its machined pin. Al in all a nice fit. |
 |
|
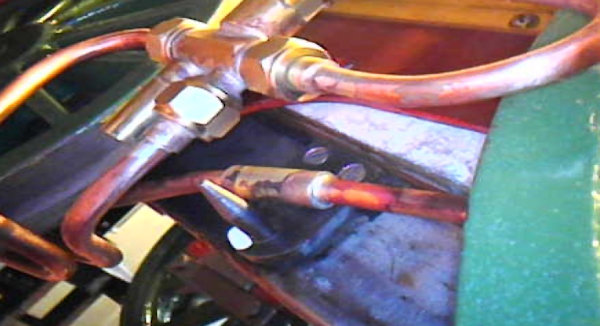
| Using the endoscope
which only bought yesterday I was able to see the problems with
the fit of the ash pan. The sides were too tight on the boiler
so I was able using pliers to bend the sides out just a little. I found that the keeping pin supplied previously was too tight a fit so I had a piece of 3/16" mild steel rod which I machined a point on the end of 10 degrees, measured it to length and silver soldered a piece of hex bar onto the pin. The camera picture shows the exit of the keeper close to a piece of pipe, which will be adjusted so that it does not rub. |
 |
|
Next page |
||

