
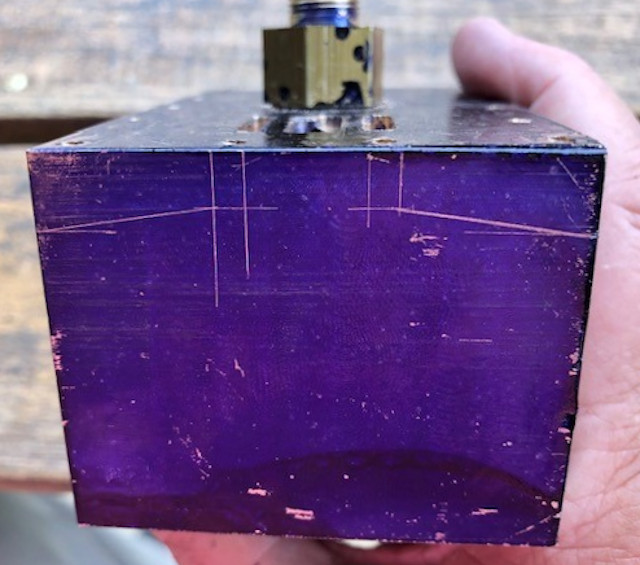
Here I have marked out the guide lines to be able to drill the inlet ports each end is similarly marked.
The marks are to be able to properly align the drill and to align for the end mill to provide a flat surface
The new angle plate has arrived and thus setting up can be started.
First I had to locate bolts and "T" slot basses, then the threaded rod which needed to be shortened and lastly the retaining bar had to be drilled. The retaining bat may need to have the ends shortened if they fould the drilling chuck !!
The piece of paper under the cylinder block is to stop and likely movement that a metal to metal surface can allow even if bolted down.
Now I need to align the cylinder block to the angle plate and the ange plate to the cross slide adjust the angle to proceed with light cutting of a flat to drill into.

I shone a torch at the face shown and the shaddow confirmed the I had set up the correct angle.

With minor adjustment to the X axis the second two holes went well, without the need to the metal guide, with the DRO indicated the depth that I had to drill very well.
A small amount of the side of the cylinder will be filled away to allow ingress to steam through all three steam ways.
This has taken about 3 hours to achieve so time for a coffee break.

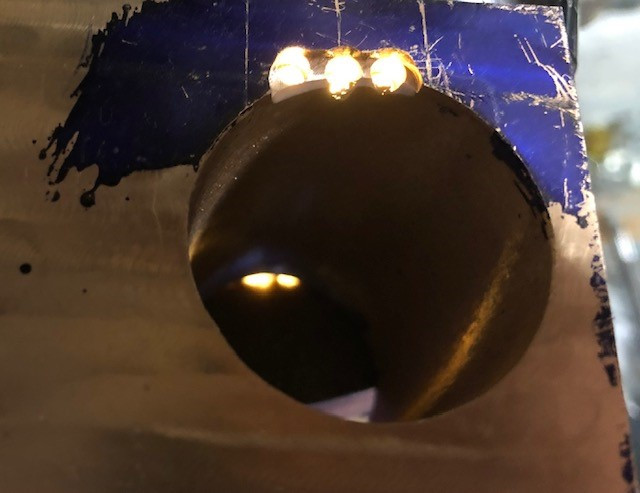
I shown a torch at the steam port and you can see the three holes of the steam ways one end and two out of three the other end ...,
That I think is the most difficult drill that has to be done and took in total about 7 and half hours.
The replacement wheel for the drving wheel with blow holes and the remaining trailing wheel arrived to day. Thank you Reeves 2000 for your service.
Machining can continue !!

All went according to plan.
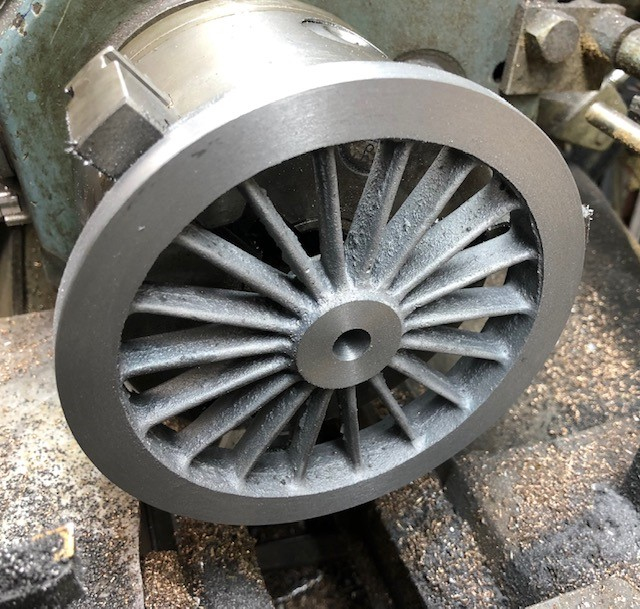
After a break from engineering due to a planned eye operation I can now proceed for a little while again.
Machining the front of the last driving wheel.

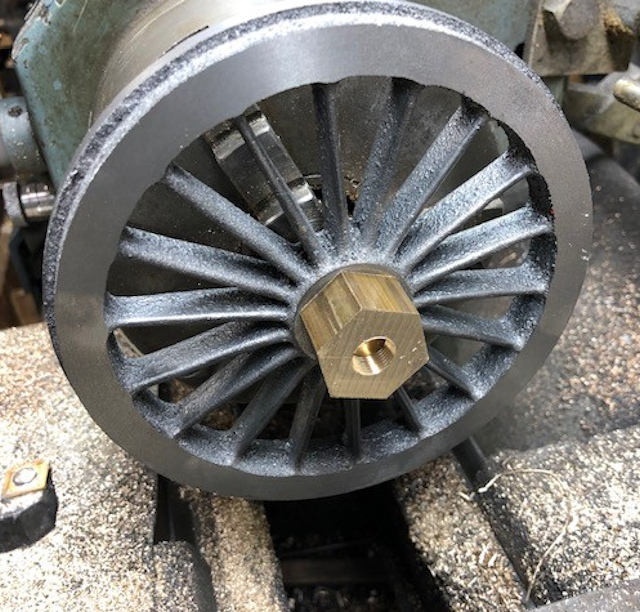
More turning of wheels with very fine cuts.
I decided to place pieces of paper either side of the wheel in an effort to resist turning on the metal to metal surface
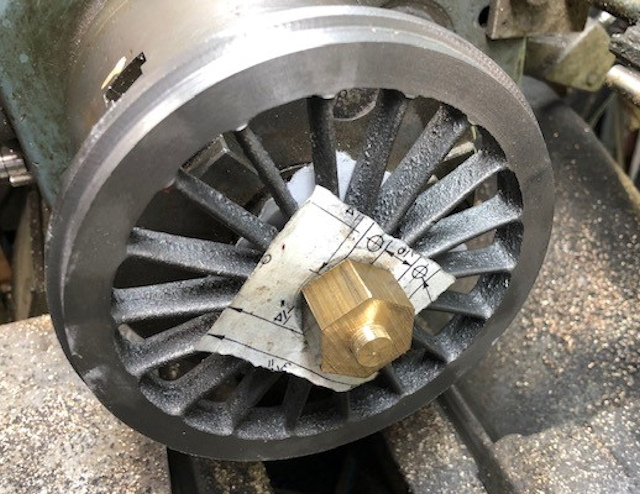
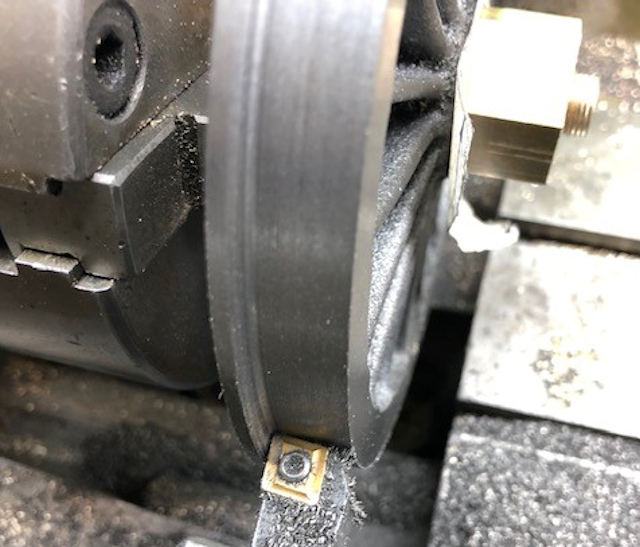
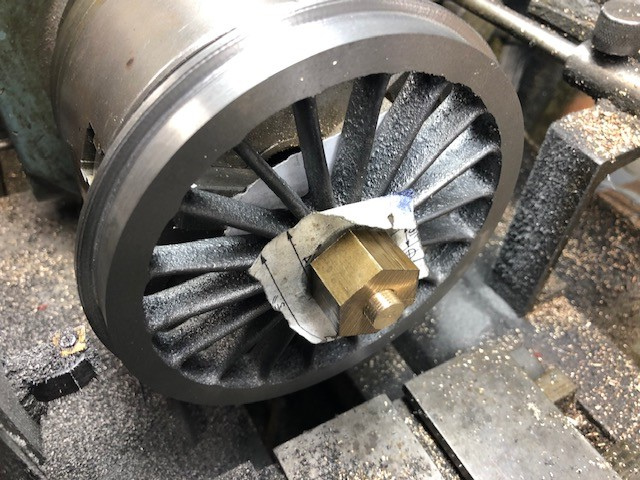
All that remains to do is profile the flange

The cutting tool was brought tyo a right angle / parallel with the face of the tread, then the cross slide was set over by approx 20 degrees
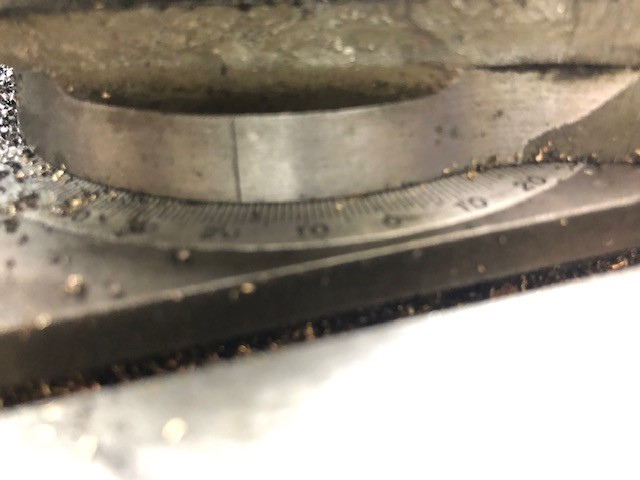
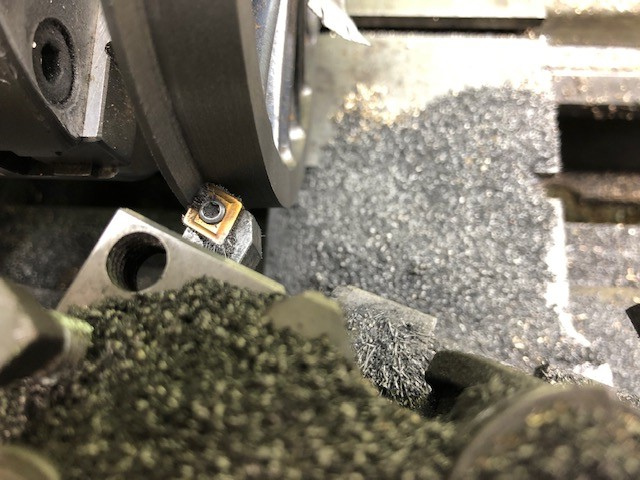

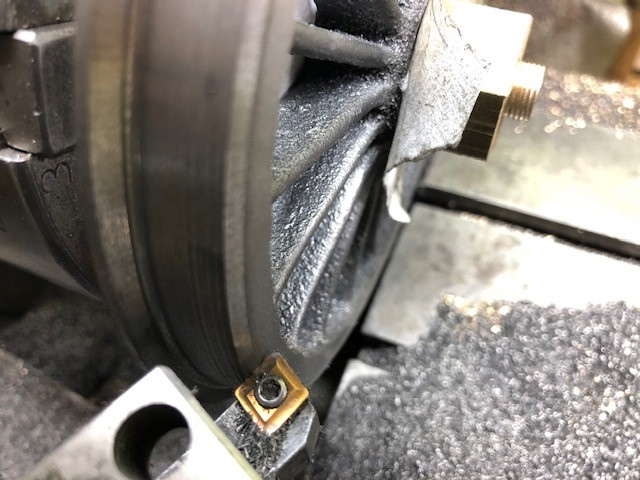
This gave a nice finish
Now I have to finish the fettling of the spokes prior to painting !!

So remaining to do it Angle the Tread, Angle the flange and angle the front of the tread and finally smooth off the rear of the wheels just as done for the driving wheels
