The Diary of the Building of a 5" gauge Stirling Single |
|
|
|
|
|
|
|
Completion
of the build Part 9
|
|
|
28th
June 2019
Making
the super heater gasket.
First
I measured the size of the part going through the gasket at
20.75mm so cut off a piece of bar and machined the outside to
23mm and the inside to 21mm. Then put a 10degree angle on the
out side bringing the cutting edge to a sharp edge.
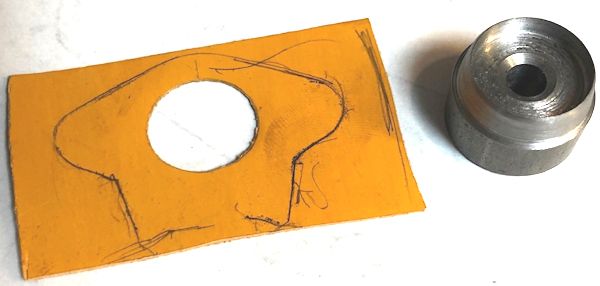
The position of the hole was marked on the gasket and then the hole punched through by hitting down onto end grain wood to reduce blunting of the cutter. the
result is as seen and then the out line was marked from the
gasket in position.
|
 |
|
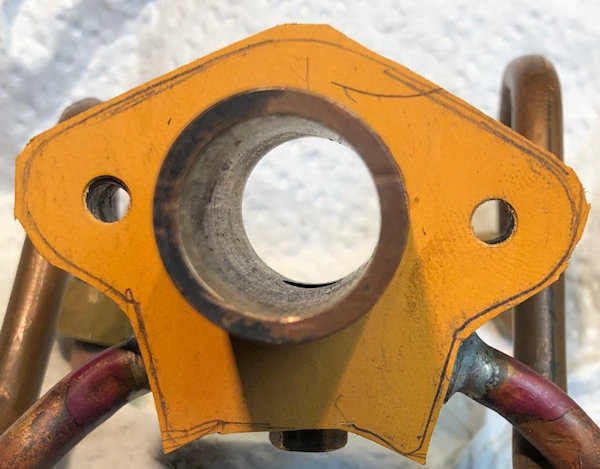
The
gasket was then cut out and the location of the two smaller
hole made and cut with a hole cutter.
So the gasket is ready to install but I will discuss this with friends tomorrow as to whether I need to use gasket sealer on the gasket each side. Final
trimming is left until fully installed.
|
 |
| 29th
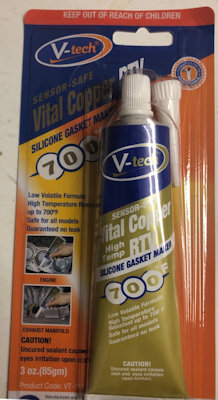
June 2019 Discussed with friends regarding sealant to be used with or even without gasket material and placed order on the web. The one chosen is V-teck Vital Copper Hign Temp RTV Silicone Gasket Maker. |
 |
| 30th
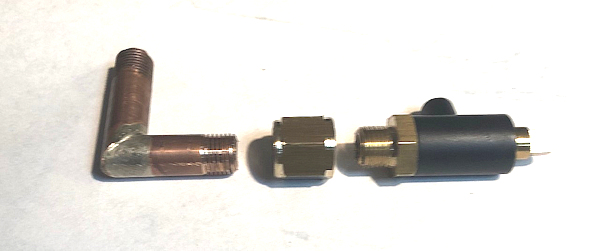
June 2019 Made up the union between the blow down elbow and the blow down valve. |
 |
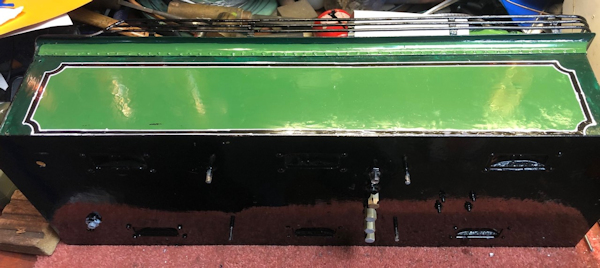
| 1st
July 2019 White lining on the tender. No much can be done in one go so little and often allowing for an over night drying !! |
 |
|
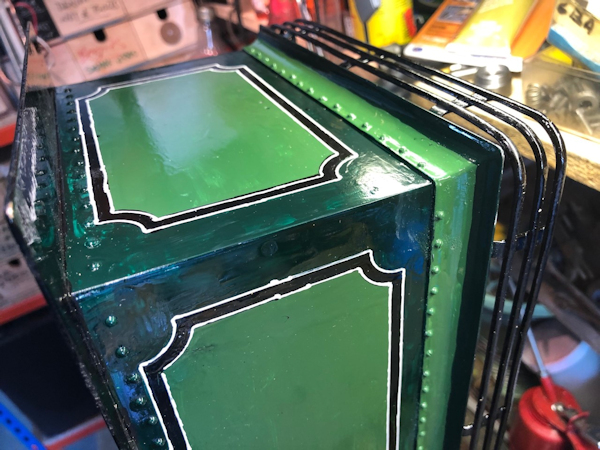
2nd
July 2019
Some more lining out ... There is a great deal of touching up of paintwork I see to do !! |
 |
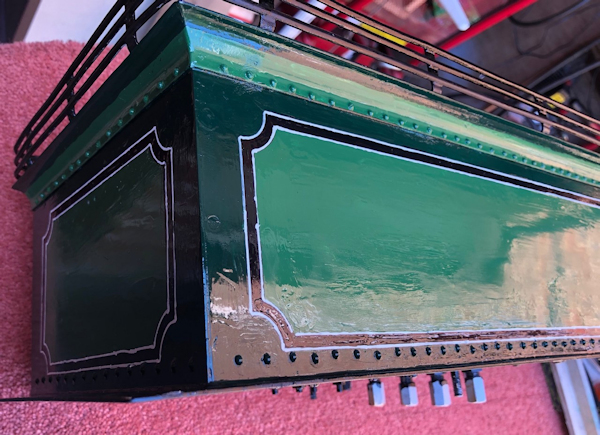
| 3rd
July 2019 Some tidying up of the Dark Green and light Green |
 |
|
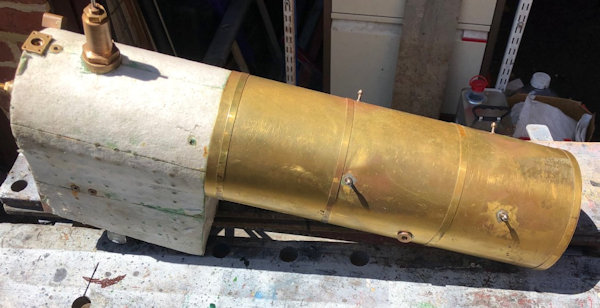
4th
July 2019
The boiler ready to have the cladding removed in preparation for sand blasting and etch primer and painting |
 |
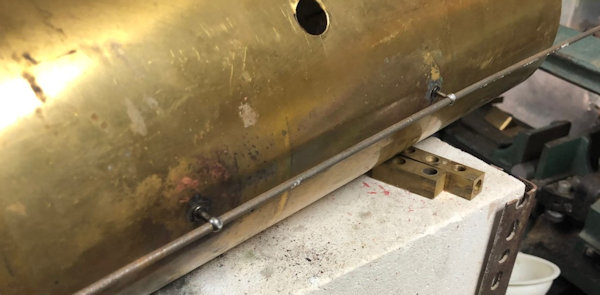
| But
first the hand rails need to be aligned by putting a piece of
1/8" steel rod in the two stand offs and then two needed to be
re-soft soldered. |
 |
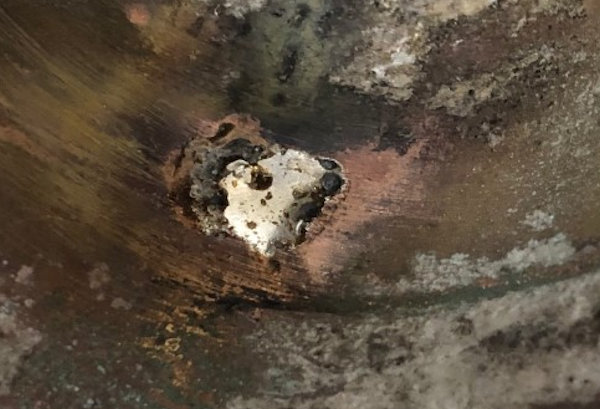
| The
soft soldering after flux had been applied. The soldering was on
the inside of the cladding. |
 |
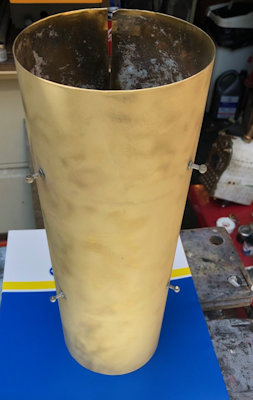
| The
cladding sand blaster ready for etch spray primer. |
 |
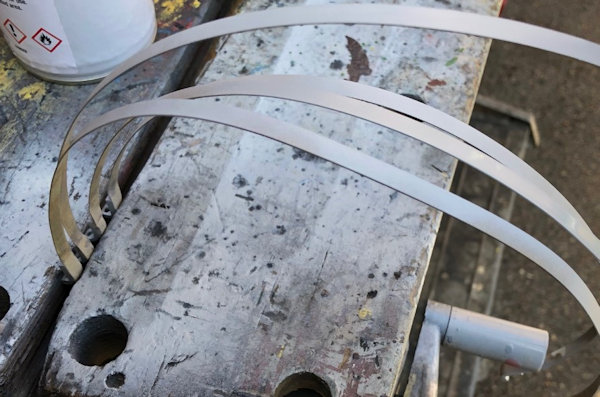
| The
boiler bands were also sand blasted and then etch primer
sprayed. |
 |
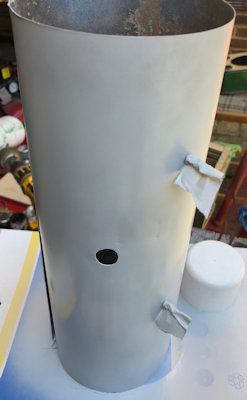
| The
cladding has been etch primed and must now wait over night
before painting. |
 |
| 5th
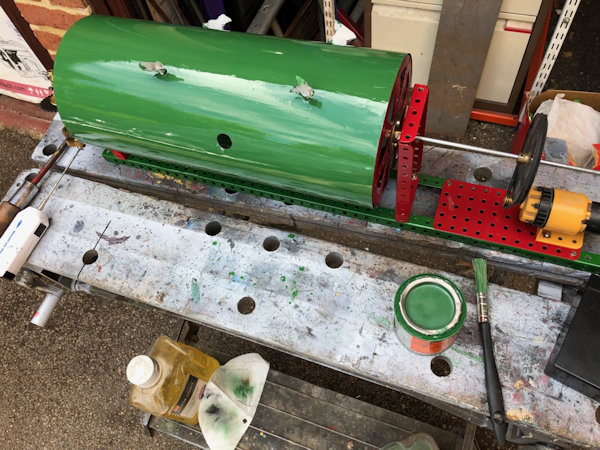
July 2019 I made up a simple but effective machine to rotate the boiler cladding to remove the possibility of runs. Made up of Meccano a child's "toy" I remember from years ago and is the same idea that I used when building my Polly 6. The small electric motor turns the cladding by a simple gearing down of the motor and a rubber band link. |
 |
| The cladding was
quickly painted and the rubber band allow me to rotate the
macing and thus complete a single coat with the cladding never
still!! This was then left rotating after the paint was completed for about 45 minutes when I judges the possibilities of runs to be well diminished. A second coat will be needed and then the gloss protection coat so another 2 days work to complete to allow an over night full drying. |
 |
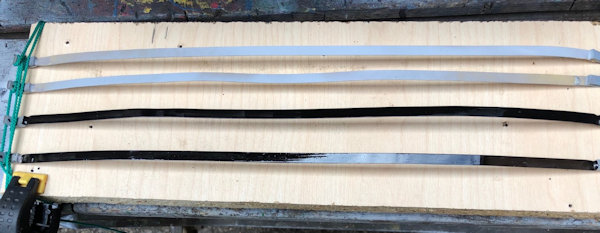
| The
boiler bands were attached to a piece of chip board to paint
then generally horizontal, the lower two are painted black the
upper two were completed after the photo was taken. These too will need a second coat of painting and then and then white line painted onto both edges. |
 |
| 6th
July 2019 Early start and the second coat of paint on the boiler cladding and the boiler bands. Then later in the afternoon the white edging was put on the boiler bands. For this I used by Beugler lining tool and even so it was very difficult to make all the lines perfect. They say practice makes perfect but I need to finish the loco so absolute perfection will have to wait for a repaint !!! |
 |
Link to next page |
|
