The Diary of the Building of a 5" gauge Stirling Single |
|
|
|
|
|
|
|
Completion of the build Part 18 |
|
| 24th
25th 26th October 2019 Preparation one way and another for steam test on 26th October which included re-assembly of boiler on the chassis and sorting out tools and things for a steam test if we get that far. |
|
| 26th
October 2019 Arrived at Mote Park in good time. The first test was to pressurise the boiler to 1.5 x the working pressure. Sadly due to leaking from a regulator which would not seal the test failed and the steam test never therefore took place. The existing regulator valve is made of brass, but should have been in P Bronze. I will be making the new one and then see if that performs better. |
 |
| There
was another slight leak through the blower outlet which was
caused by the seal on the threaded copper pipe not being
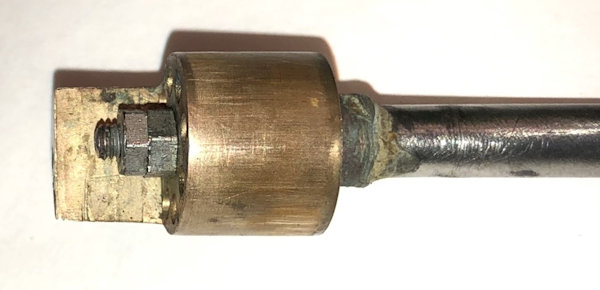
sufficient. On this occasion the blower pipe had threaded end at both end and thus to reduce the chance of a similar leak next time by 50% it was suggested that I silver soldered the smoke box end union to the pipe. The photo shows that carried out. |
 |
| 27th
October 2019 A piece or P Bronze was machined a nice sliding fit in the Regulator Body centre drilled and the drilled through and parted off. So the mainblank of the part is done. As you can see from the plan not the easiest part to make so I am taking my time to I hope get it right !!! |
 |
| I
have a rotary table so I prepared a piece of 15mm copper pipe
slit down the middle and the annealed it and placed it around
the regulator machined blank. you should be able to see the
copper round the blank in the photo. This was put there to avoid
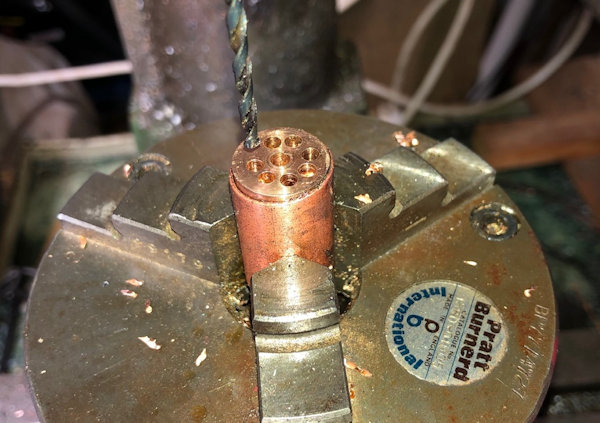
marking the P Bronze blank. The necessary 7 holes were then drilled - very carefully as I did not want to break the drill!! |
 |
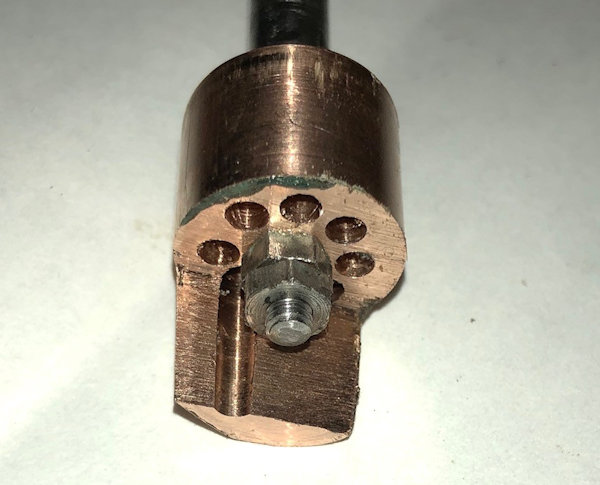
| Here
is the new regulator but will it be better than the old or do I
have to start again ? |
 |
| 29th
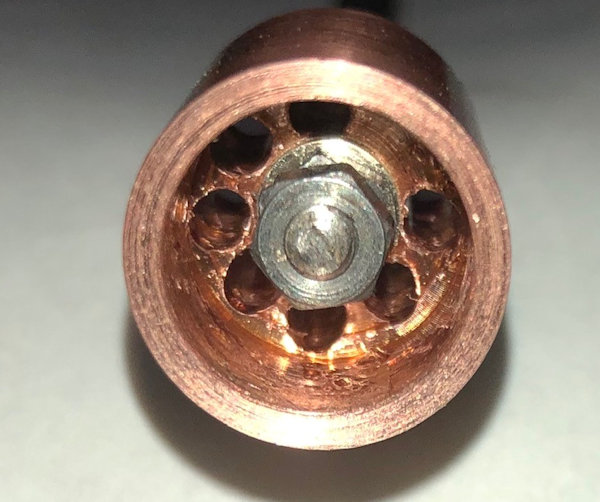
October 2019 Yesterday's regulator seems to "wobble" in the shaft so I decided to try another method as shown in the photo where there is a bearing surface the full length of the part. Sadly I lost the 5BA stainless nuts so have had to order 5BA brass nuts as I could not find Stainless Steel ones. No "wobble" now exists in the shaft. I may decide to cut a gap in the top to allow steam pressure to vents and I hope press down on the opening to assist in sealing !! The revised Blower stay with one end soldered to the fitting was put back in place. First a thin brass rod was inserted as a guide to exit both ends then the copper washers were annealed and one placed on the soldered end of the blower assembly. This was then tightened into the boiler. A check was made that the other end found the tube and a copper washer put in place. Thread sealant was applied and the fitting wound in until it was tight in the boiler bush. A water pressure test will be done tomorrow to check for any leaks!! |
 |
| 30th
October 2019 A day of testing. First test was to take the chassis over to Mote Park Track and see how it performed round the tight traverser curve. The result was that it did make it through the tight bends but there is some fouling of the front bogey splashers on the cylinders. The splashers will need to be amended by cutting them away a little !!! |
The second test was to pump up the boiler with the regulator blanked off and see if the leak problem on the blower stay was sorted by the silver soldering and Thread Sealant. I am pleased to report that whilst I could not raise the pressure to 1.5 working psi it did reach 100psi but the blanking off of the regulator was where the leaks were but that is of no consequence as the regulator itself has still to be re-assembled. |
| 31st
October 2019 With the test on the track yesterday showing problems negotiating a tight bend the front bogey was lowered and I found out that the springs to centralise the bogey did not allow any "LATERAL" movement unless a great pressure was applied so the springs were changed to a lower compression force spring, The retaining plate was also drilled out to clear the bolt in case that was binding and oil applied to the "dry" surfaces where movement is required. |
|
| 1st
November 2019 A pair of 5BA stainless steel nuts were made up from hex stock stainless steel which was just a fraction smaller across the flats than 5BA but was quite suitable. To make them screw down the shack to lock into place on the bobbin of the regulator I had to make up a small adaptor to allow the nuts to just fit in the 5BA socket and the adapter to fully tighten. The adaptor is shown in the photo to the right of the 5BA socket. |
 |
| 2nd
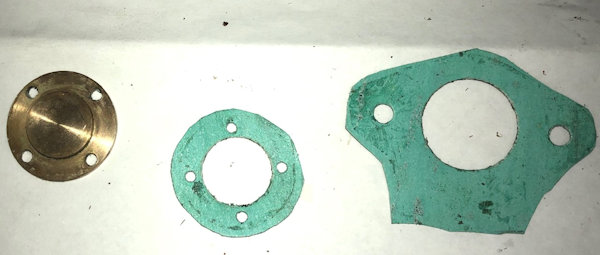
November 2019 In preparation of the re-fitting of the super heaters and the regulator the gaskets were prepared. |
 |
| 3rd
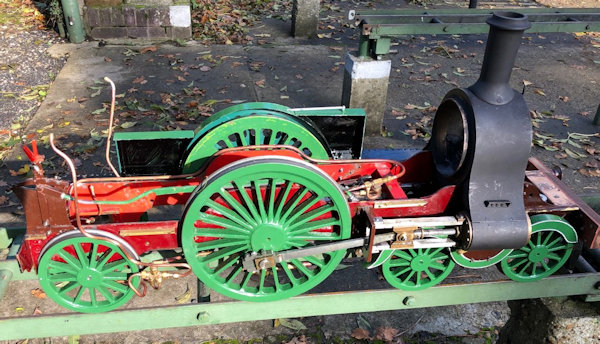
November 2019 The chassis of the loco was taken to the MMES track to test it for travel round the tightest of curse on the traverser. Previously I had amended the centering springs and oiled the part which moves and also cut away excess metal on the splashers. I am pleased to report that all the test were successful and on the main track the front bogey could be seen to move side to side following the track. Just for the record I took this picture after the successful tests. |
 |
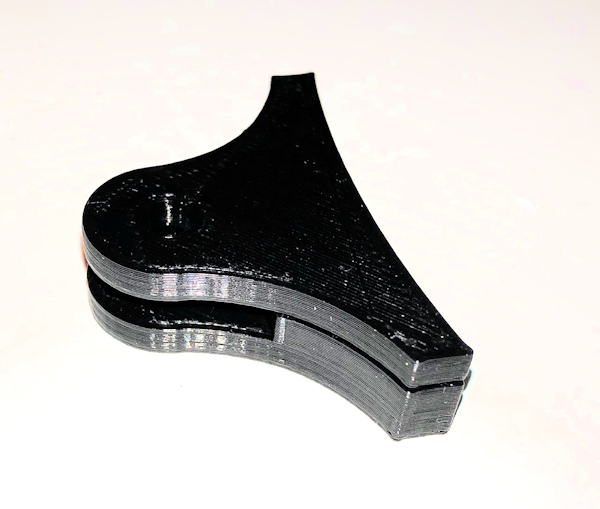
| Currently the chassis
of the loco does not have any brakes so I decided that I will be
having none working brakes so I drew up and then 3D printed the
brake blocks in two parts and Super Glued the part together. I
will probably added 8BA bolts to ensure that the two parts do
not separate !! There is another design of the trailing wheels still to be designed and then printed. |
 |
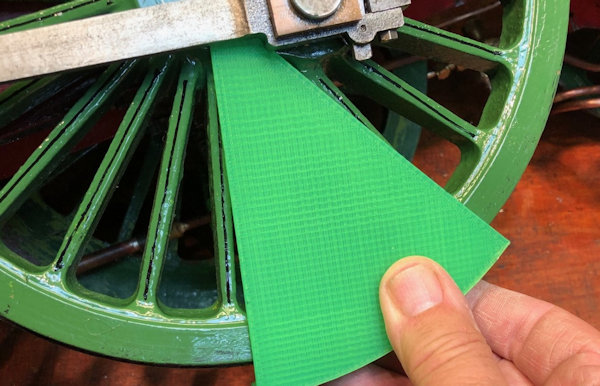
| 10th November 2019 After a few days away and thinking about the loco I had up a 3D printed former to aid with the lining out of the wheels. The aid works quite well being held in place, but not perfectly as I forgot that the spokes were lower than the side and centre height of the wheels but making this in 3D printing is beyond my design capabilities !! Still a reasonable job was done on one side which is now drying. |
 |
| 11th
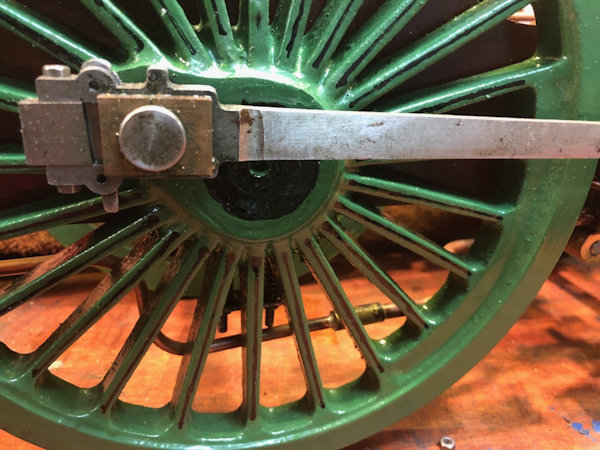
November 2019 Some more lining out completed. A little more trimming of the splasher over the front bogey on the right hand side .. |
 |
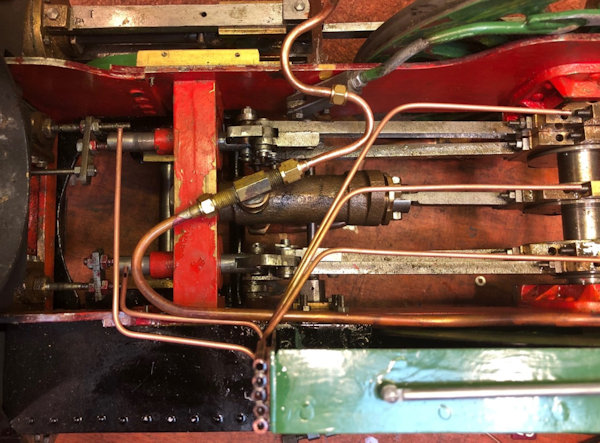
| Whilst I have not yet
seen any oil exit the pipes they are in place ...!! May be the feed pipe needs to be larger or the oil thinner / warmer! |
 |
Next Page |
|
