The Diary of the Building of a 5" gauge Stirling Single |
|
|
|
|
|
|
|
Completion of the build Part 19 |
|
| 12th
November 2019 Some more lining out and a test of the oiling pipes. Lining went fine but I am sure that the oil will not easily pass through the oil pipes !! |
|
| 13th
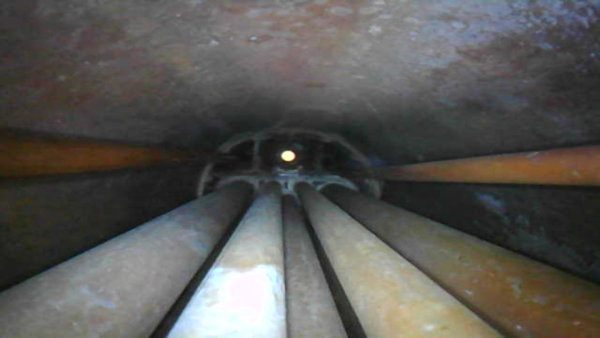
November 2019 In preparation to refitting the regulator I thought I would take a look inside my boiler with the endoscope. |
 |
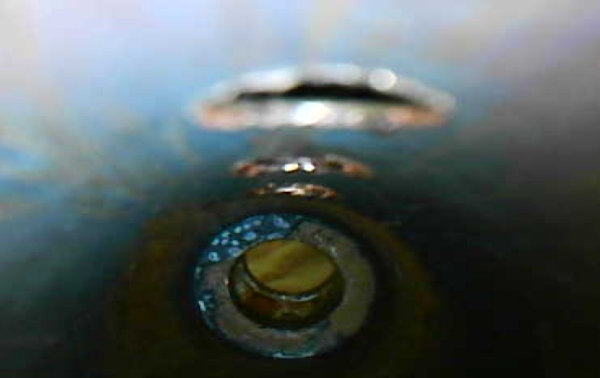
| Now
I have installed the collection tube an orientated the tube so
that the steam holes are uppermost and you can see a round hole
which is the regulator entry tube where the activator on the
back head goes. |
 |
| 14th
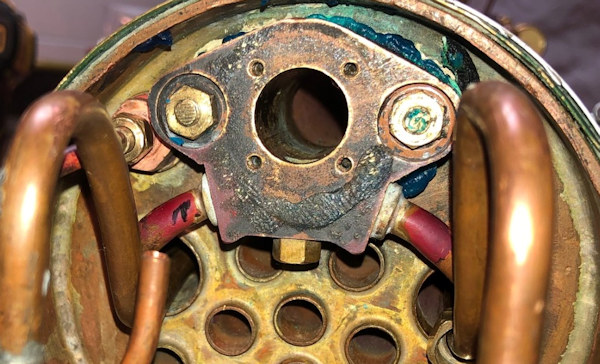
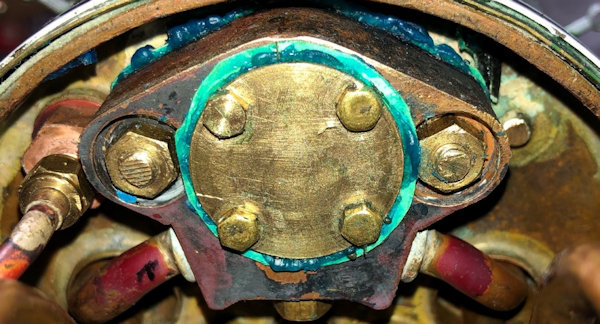
November 2019 The body of the regulator is back in place with gasket and sealant. Tightness of the two 2BA nuts needs to be checked with the torque wrench when the sealant has been in place for a few hours. The blower outlet has also been fitted and tightened up. |
 |
| Attention
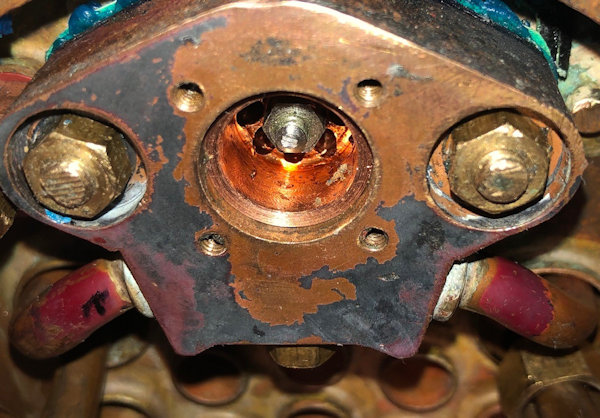
was then turned to the operating end. The operating end was given a coat on each part of the sealant. Then the bobbin was fed through from the front of the boiler and allowed to just emerge at the operating end and then after a check that the steam gathering tube had not moved the operating assemble was put of the end of the shaft and then screwed down. A check was made that it operated ok and then thread lock was applied to hole the small operating fork in place. |
 |
| The
photo show the bobbin in the closed position and is covering the
steam hole leading to the super heaters. |
 |
| A
suitable size "O" Ring was put in place in readiness to seal up
the front end prior to a pressure test. The idea of the use of
an "O" Ring was suggested to me by one of the internet reader
who emailed me with the idea as it solved his leakage past the
operator. |
 |
| It
may look pretty but last time I cut the gasket tight to the edge
and it easily split where the holes were cut of the 6BA bolts.
So this time a little oversize. Tomorrow a tighten down and then a pressure test by pumping in water to a full boiler and hope I can reach 120psi |
 |
| 16th
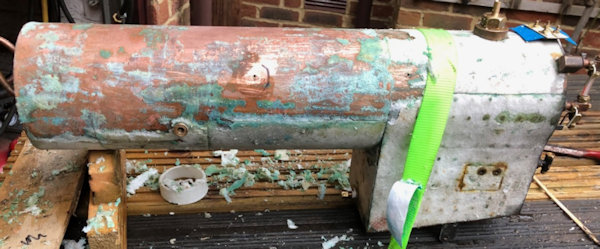
November 2019 Just when I thought I might be nearing being ready for a steam test my own water pressure pump up revealed that there was a leak and to find the leak all of the cladding had to be removed. Even then the location of the leak was not apparent until the boiler was pressurised to about 50psi and the hole was apparent. On closer inspection it was found that the holes aligned with the hand rail holding pieces and whilst there is one definite holes the other handrail piece also have a similar depression where the cladding was drilled in place. |
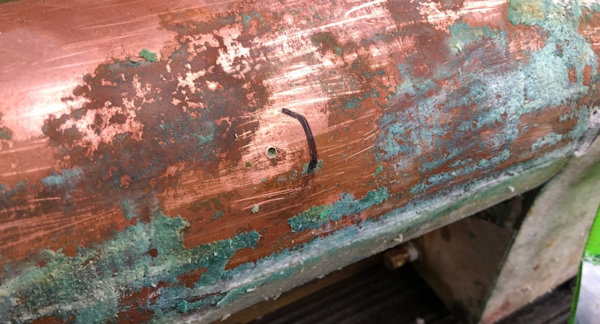 |
| So
the boiler will need to have all the cladding insulation
removed and all the fittings so that repair can be made. The suggestion is to drill out the holes and tap and then screw in PB threaded rod and silver solder and then cut off the excess.. However on the good side that regulator did not leak so that is a great result and does mean that we have moved forward with that solution now proved. |
 |
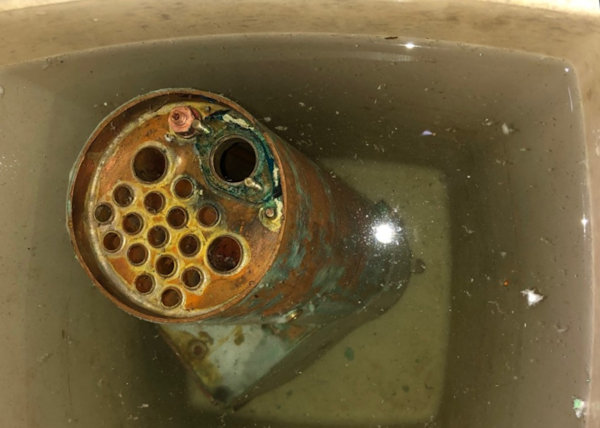
| 17th
November 2019 So the boiler is stripped of the fittings and now is in a tank of water to soak the insulation off so that the repairs to the hole(s) can be made. It will probably have to stay in the water for a few days !!! |
 |
| 18th
November 2019 The P Bronze blanks for 5BA holes (in a plastic packet to keep them safe 7 made so that I have one spare !!!) which I expected will be agreed upon on Sunday as the existing hole is smaller than 5BA tapping drill. Also an order made for silver solder and flux also in preparation for completing the job. Need to now find the correct tap and wrench and guide and put them with the tapping drill. |
 |
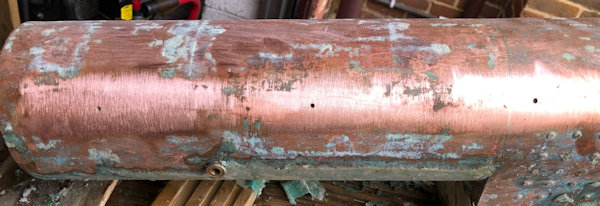
| 19th November 2019 Boiler cleaned up ready for Sunday's inspection and possibly the repair. The threee holes locations can be seen and similar on the other side. A friend has suggested "Just a thought, perhaps a bit of masking tape on the drill to make sure that you donít drill into any boiler tubes - that would be pretty catastrophic - similarly it might be best to use a bottoming tap rather than taper taps to avoid a similar problem. Once the hole is drilled you can use a thin probe and see how much of those threaded plugs you can safely screw in without hitting any tubes inside." |
 |
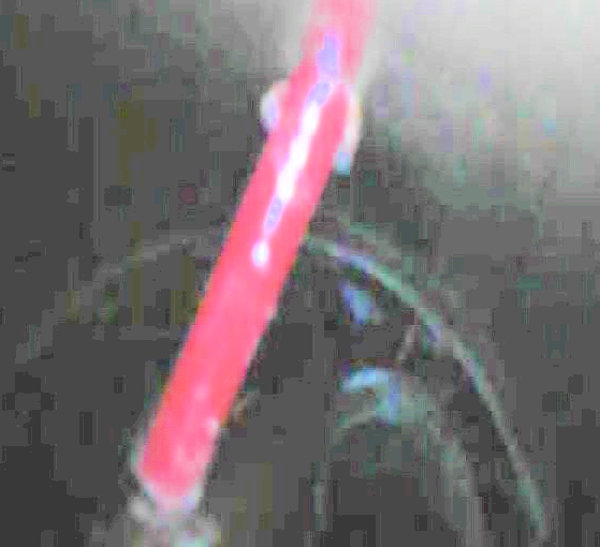
| Using the end of an
adaptor for a spray oil can pocket through the hole with
the endoscope it is possible to see that there is a limit of
depth to go into the boiler so what was suggested above is very
sound advice. |
 |
| 22nd
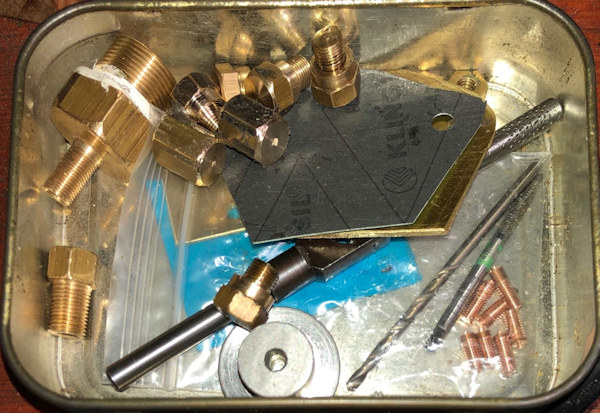
November 2019 Gathering together bungs etc in readiness for the testing Sunday 24th November 2019 |
 |
| 24th November 2019 Chatting with my friends at the MMES it was decided to change the plan and fit blind bushes to take the hand rails supports and not have them fitted to the cladding. This need a lot of preparation work to be carried out including :- Setting up the boiler in a steady fixed position on the mill drill using V Blocks, so that the holes may be drill at right angles to the boiler barrel and all at the same angle and with threaded 1/4"x40 holes to hold in place whilst silver soldering. Removing the existing hand rails from the boiler cladding Repainting the cladding where damaged by the heat to remove the hand rail supports So as a start two V Blocks were made from timber and stuck to a base board. Facilities to hold in place on the Mill/Drill and to hold the boiler steady too will be sorted in due course. The loco will not now be ready for the Boxing day 2019 run !! |
 |
Next Page |
|
