The Diary of the Building of a 5" gauge Stirling Single |
|
|
|
|
|
|
|
Completion of the build Part 21 |
|
| 7th
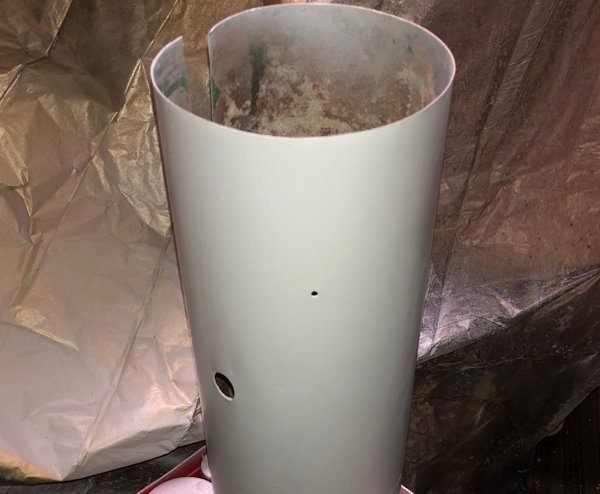
Jan 2020 The cladding is now etch primer . |
 |
| Two
pulleys needed to make up the unit to turn the cladding during
painting as previous efforts did not prove to be perfect. The illustration is taken from the Cura program which converts stl files to printable files. |
 |
| 8th
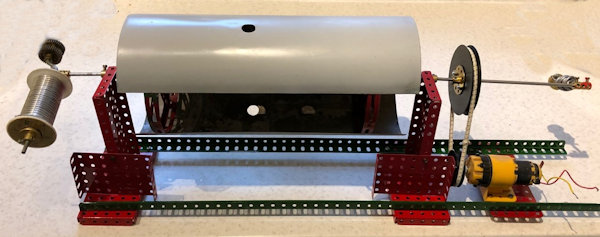
Jan 2020 The cladding paint rolling machine was put together using Meccano in a little over an hour. Similar in many respects to what I had built several times before but this time using 3D printed pulley wheel as seen in BLACK from the electric motor and on the drive shaft. It runs on a 6V battery and the motor had 60:1 reduction and then the pulleys reduce by a further 2:1. The purpose is to rotate the cladding whilst the paint dries to avoid runs !!. |
 |
| Not
a good photo with all the reflections ! This is the first coat
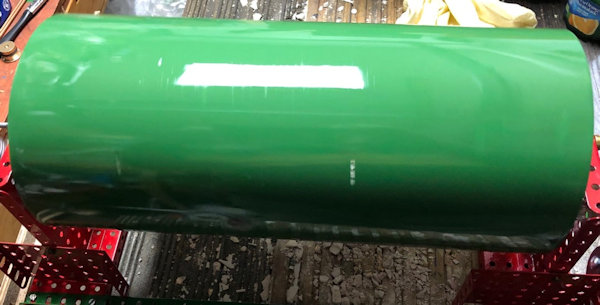
mainly to protect the etch primer from dirt. The etch primer was wiped over with a panel wipe to clear of any finger marked, allowed to dry by evaporation and then the paint applied by brush. The roller was then sent to work and remained on for about 5 minutes. The result will be considered in the morning and a check made as to fit over the boiler and any holes needing to be amended will be altered. Then all being well a rub down and the panel wiped and the next coat of paint applied. |
 |
| 9th
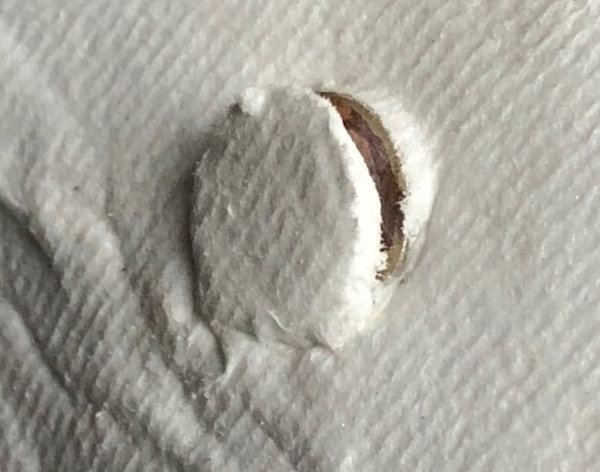
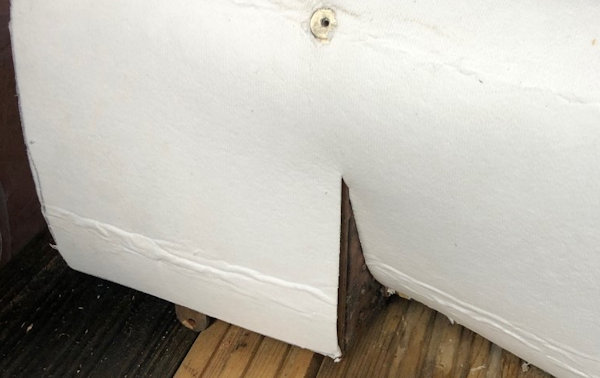
Jan 2020 I decided to tackle the insulation which actually was much easier than I thought it would be. First a piece was cut sufficient to cover the length of the boiler and the length round the firebox. Then I marked a centre line which whilst is measured ok did not fit well as it was lope sided to the boiler and was not actually as required as you can see from the additional marking on the left hand end. I cut out the holes in the insulation for the safety valve base and the turret and dummy whistle. Then with the insulation in position I pressed down hard on the blind bushes and found that they easily cut the insulation. |
 |
| Just
a little more pressing and the hole was cut. |
 |
| Next
I cut the line which had been formed by pressing the insulation
against the side to the fire box. |
 |
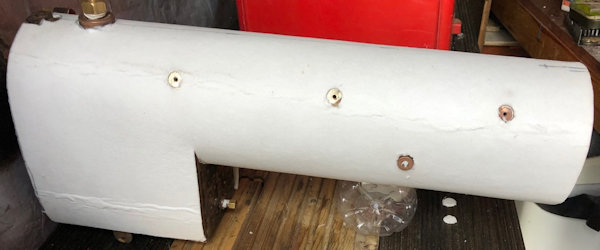
| The
nearly completed insulation. The little piece of insulating in
the bush was removed before it ended up inside the boiler. |
 |
| 10th
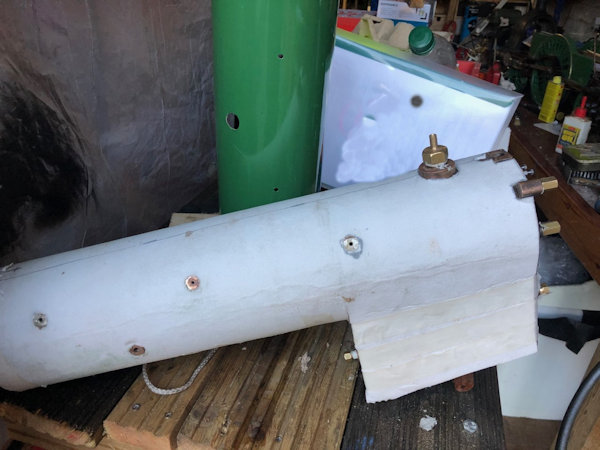
Jan 2020 The insulation on the boiler barel was cut to size on the over lap on the bottom and taped with paper tape . The insulation on the sides of the fire box was cut to size and then stuck to the boiler with wood glue just to hold it in place prior to the cladding being installed. The cladding for the boiler barrel was slide on and checked for the location of the fitting holes and necessary adjustment made to the holes for the hand rails and boiler feeds. The cladding wa then rubbed down with wet and dry and allowed to dry before it was wiped over with Panel Wipe and then given its second cot of paint. |
 |
| 11th
Jan 2020 A check that the blind bushes were clear by screwing in a 6BA tap and all proved to be fine. The first boiler band fitted. A friend and I tried to fit the other three but longer 8BA bolts are required which are now ordered so the other bands will be completed when they have arrived. The handrail supports went easily into the tapped holes. The section of the cladding over the firebox was given its first coat of green paint. |
 |
| 13th
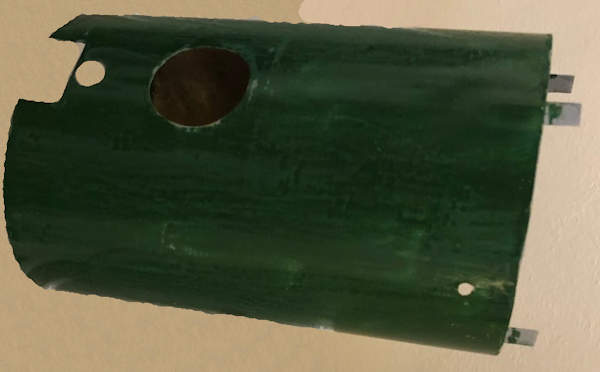
Jan 2020 Not a very good photo as I have tried to blank out the background ! The holes for the hand rails have been made bigger and the first coat of paint given a rub down and it dried on the radiator in the house.. |
 |
| The
rub down is dry and a wipe over with Panel Wipe finalised the
preparation for the second coat that went on a treat. I used the revolving stand shown above to again rotate the cladding and thus prevent runs. |
 |
| Just so I remember in
years to come this is the paint I have used and very good it is
too and I am brushing the paint !! |
 |
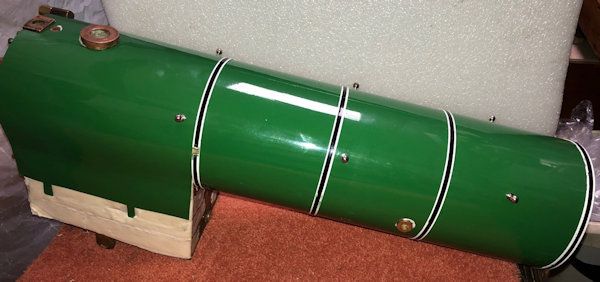
| 15th Jan 2020 The order for long 8BA bolts has arrived today from EKP supplies who did a good turn round from mt order on the web on Sunday. With the long bolts the fitting of the outer three boiler bands went on easily. The cladding over the firebox also went on well and the holes for the hands rails lined up well and the band near the firebox also using a 1" 8BA bolts tightened down well too. |
 |
| 16th
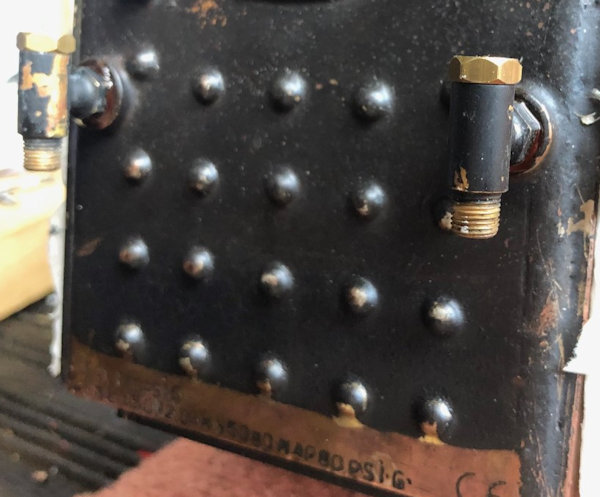
Jan 2020 The two check valves were installed on the rear of the fire box and one on the right hand side of the boiler barrel. The rest of the time in the workshop as used to tidy up a work bench in preparation of the rebuilding of the regulator. Gaskets still need to be made and consideration given to how the regulator goes together and how to photograph it as a good record for future reference. |
 |
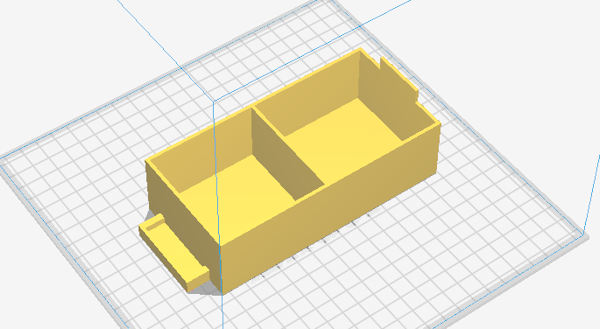
Also time was spent 3D designing a draw for the nuts and bolts cabinet which was damaged when a flame went a bit to close and melted the front of the drawer. The drawing is a screen grab of the 3D slicer program. |
 |
Next Page |
|
