The Diary of the Building of a 5" gauge Stirling Single |
|
|
|
|
|
|
|
Completion
of the build Part 11
|
|
| 18th
August 2019 Made up an order for parts and emailed to Polly Engineering |
|
|
19th
August 2019
Paid
for order to Polly Engineering and then continued with more
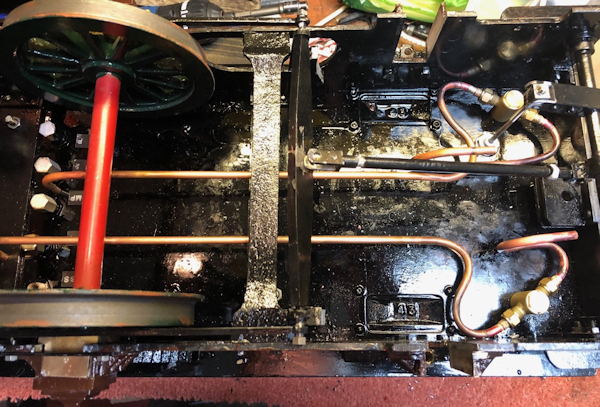
pipework to the on/off valves for the injectors.
As
you can see a set of wheels had to be removed to access the
area and tighten the nuts.
I
need more 3/16" copper pipe !!!!
|
 |
| 20th
August 2019 Went to our local engineering suppliers and bought more 3/16" copper tube and some suitable nipples. |
|
| 21st
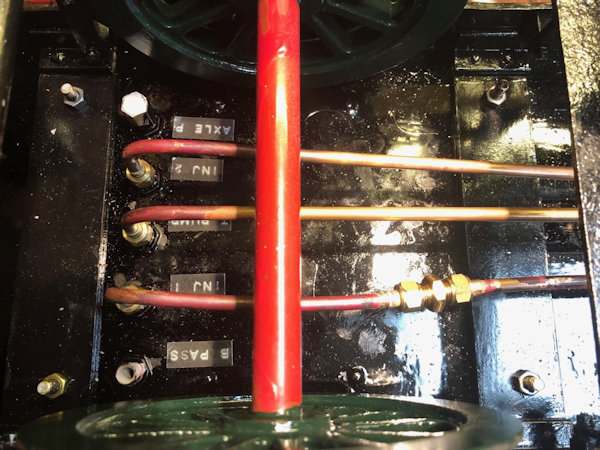
August 2019 More pipework installed to feed the two injectors and the tender pump to the loco. As I needed to shorten one pipe as I put the bend in the wrong place hence the use of the straight pipe to pipe link. The tender pump is a HIGH PRESSURE feed the others are gravity meaning that I need to use a pressure connector for the Tender Pump link. Until I can couple up the tender to the loco I cannot assess the amount of rubber tubing needed so until then I will press on with the BYPASS from the Axle pump and the feed to the Axle Pump. |
 |
| 23rd
August 2019 Started work on the coal arrestor to stop coal falling out from the coal storage area in the tender. Brass plate cut to allow water to find a way out if it went over the coal, Then sand blasted and then give a sprayed coat of etch primer ready to paint black tomorrow . The picture was taken on the 25 August 2019, it is not dameages that is reflection - sorry ! |
 |
|
24th
August 2019
Coal arrester painted Black and work done on the Loco transporter to take loco from storage bay to back of car. |
 |
| 25th
August 2019 Securing down straps ordered and should be here tomorrow. The idea for the straps came from Paul an engineering friend who gave me one but I needed more. The one from Paul has been shortened to hold the loco steady on the lifting unit shown above. |
 |
| The
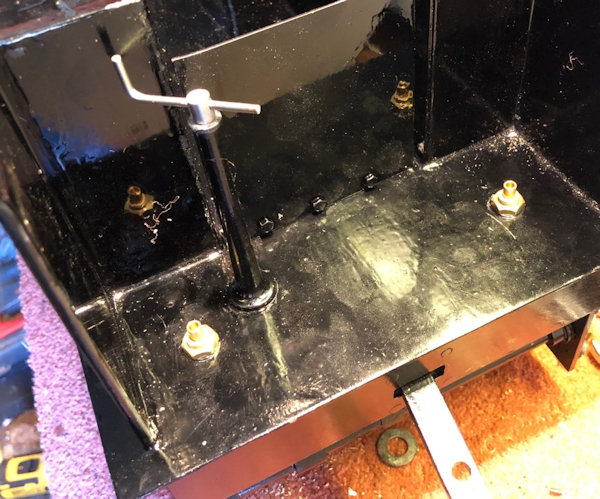
coal arrester is not fitted and also I have put the tender to
loco connector in place and the four 2BA bolts holding the
tender in place which as bras now have brass nuts too ! The picture was taken on the 25 August 2019, it is not damage that is reflection - sorry ! |
 |
| 26th
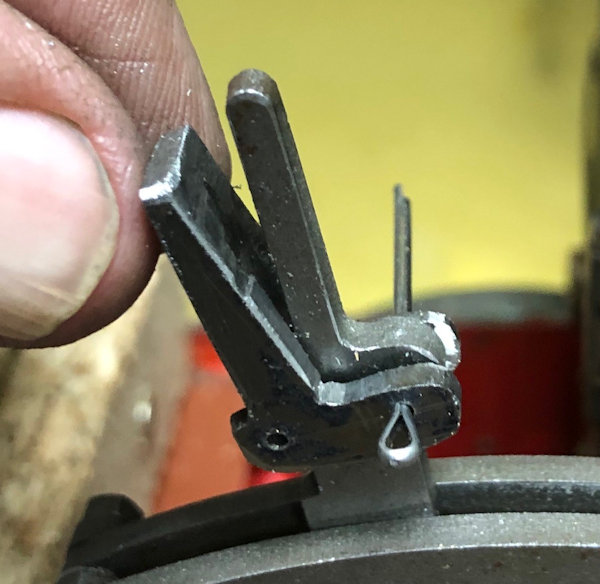
August 2019 It took 2 hours to make this little piece which is part of the reverser system. What with drilling the two 1/16" holes and then milling the slot and finally giving is a bit if shape with hack saw, a Dremel cutting disc and also a file. |
 |
| 27th
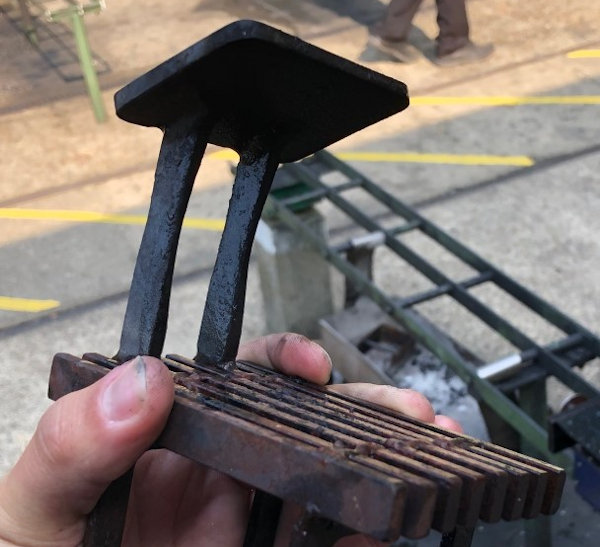
August 2019 A day spent helping with the local Engineering club activity days and discussing brick arches and exhaust variation. In model engineering the "brick Arch" is made in Stainless steel . |
 |
| 28th
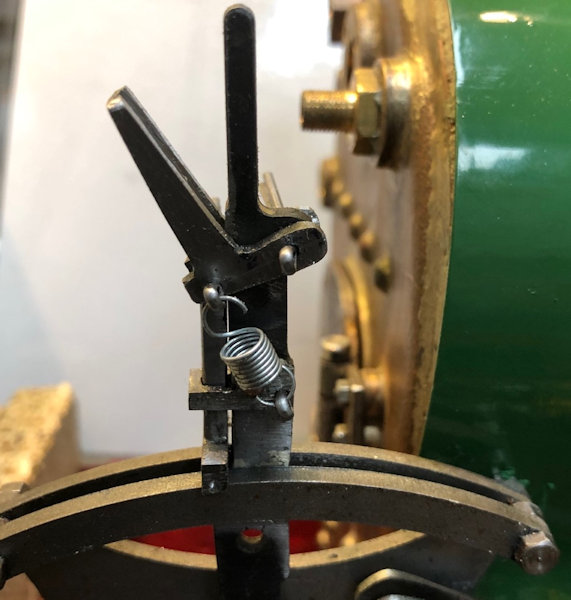
August 2019 The reverser controls were completed ready to cut the grooves in the radius. I decided to extend the arm as in the original drawings it was too short and gave me not enough room. So a piece of steel was silver soldered in filed to shape and fit and then assembled the parts. The spring is over sized but all that I have at the moment. |
 |
| 29th
August 2019 So after another 3 hours work on the reverser it is ready to apply Air to the cylinders. This proved that all was well and I can proceed further. |
 |
| 30th
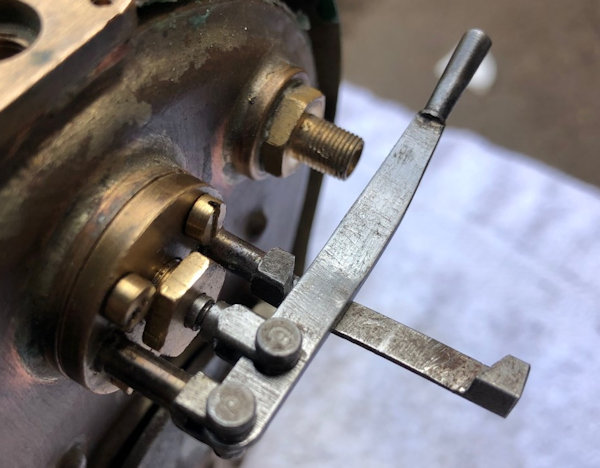
August 2019 A major milestone today I was able to rebuild, with a lot of help from a friend we was an engineer on ship during his working life, the regulator and fit the super heaters. The super heaters which had been modified by a friend in the Club did not readily fit so the joiners had to be modified with and angle grinder until they did, and then pressure tested which found a very small leak which was rectified by re-silver soldering. The operating lever in the closed position. It had to be bent up to miss the blower connection and the stop had to be filed a little to allow the correct travel. |
 |
| Regulator hand in
the open position. |
 |
| The valve in the open
position. |
 |
| The
regulator valve in the closed position. A gasket material has been used with gasket sealant each side. |
 |
| The valve cover was
installed using the paper gasket and some gasket sealant. I can now progress to installing the boiler on the chassis. |
 |
Link to next page |
|
