The Diary of the Building of a 5" gauge Stirling Single |
|
|
|
|
|
|
|
Completion
of the build Part 12
|
|
| 31st
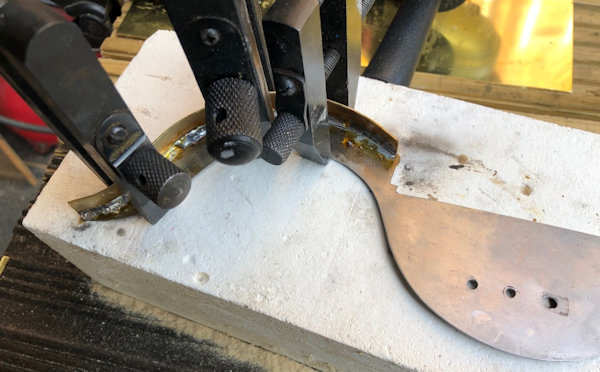
August 2019 Work on the front bogey splashers was decided upon. First the existing parts were located and checked as to which side fitted where. The a sheet of brass was cut into two 1/2" wide strips. The splashers were the formed and cut to length, all the cutting being done with a thin metal cutting angle grinder disc. When the correct bends had been created the splasher was clamped to the splasher front and the Bakers Fluid used as a flux and the joint was made using soft solder. Strengthening was added to stop as far as possible flexing. This was again soft soldered into place. |
 |
|
After
about 5 hours work both splashers were ready to be sand
blaster before being given a coat of etch primer.
|
 |
| 1st
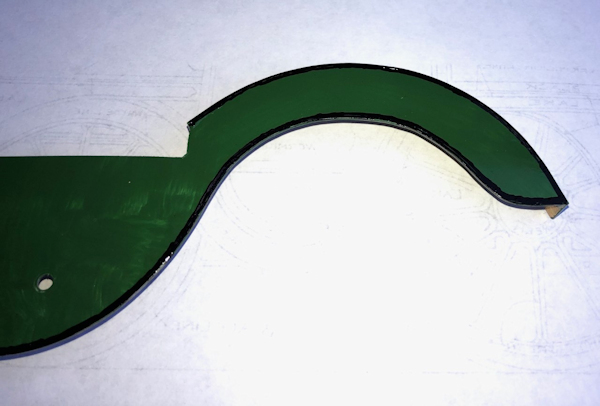
September 2019 A coat of light green paint given to the splashers. Then a few hours later the black lining out, the first with White to follow. |
 |
| 2nd
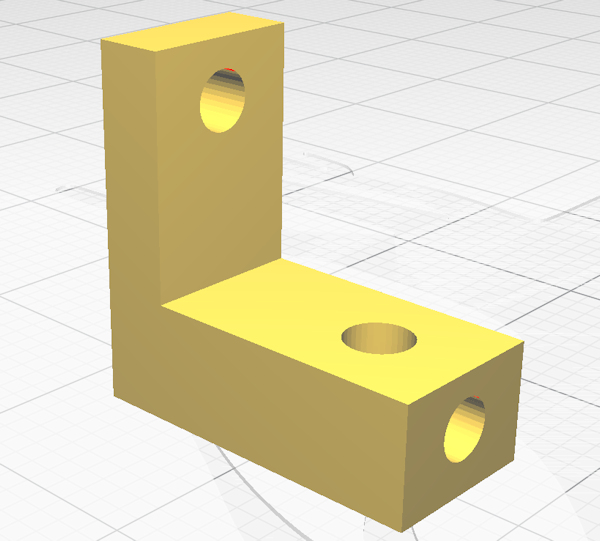
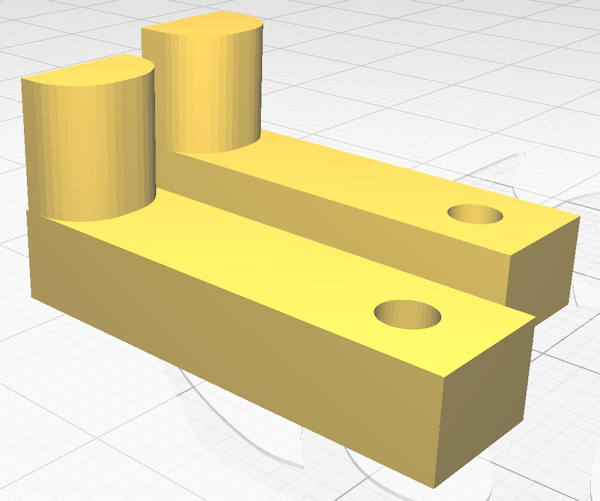
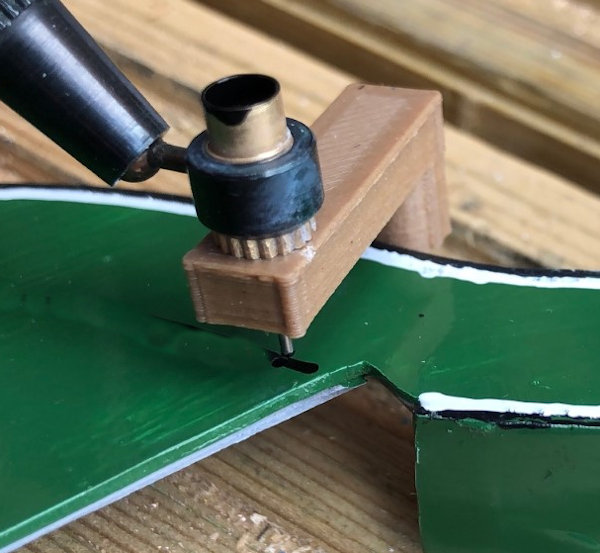
September 2019 To put on the white line I first had to design from an idea seen in the book "How not to paint a Locomotive" an attachment for the Bob Moore's lining pen which I made up in 3D printing .. |
 |
| The curved lines where there is no direct edge is located below the LAKE colour and above the LIGHT GREEN colour in the drawing. | 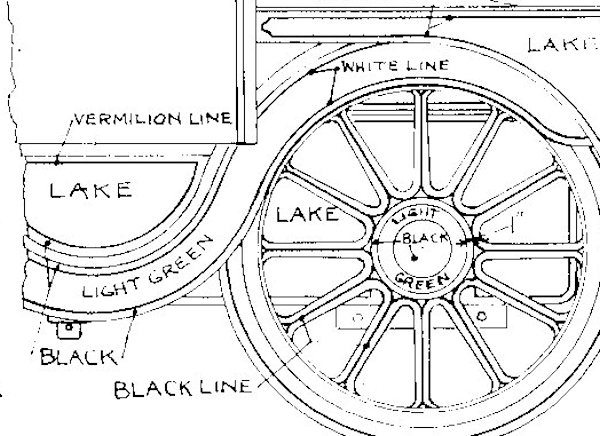 |
| For
the lining which has no direct outer edge to follow I devised
these addition guides to follow out side lower black lines |
 |
| A photo of the guide
in use with the Bob Moore's Lining Pen, as it follows the
profile of the outside line . |
 |
|
And
now the splashers are completed with Black and White lines and
the Lake colour added too.
|
 |
| Later
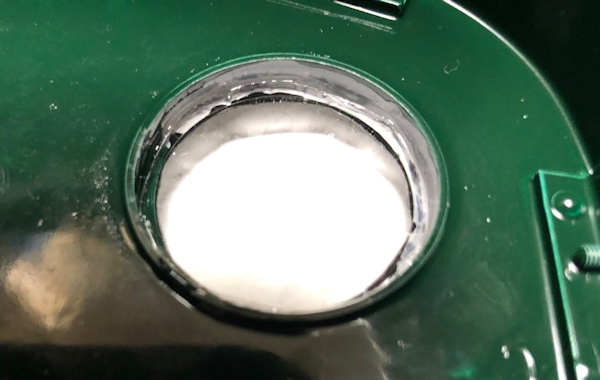
in afternoon I had a delivery of my Clear Gorilla Adhesive so
decided to fit the window glass in each cab window. |
 |
| As
I am not going to use the forward boiler filling points but move
them to the rear boiler blanks in Phosphor Bronze were made and
fitted with Loctite 542 |
 |
| 3rd
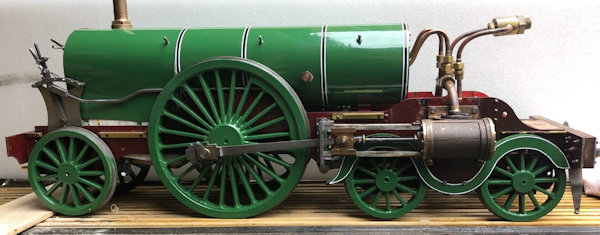
September 2019 The front bogey splashers were fitted in place and the wheel set attached to the locomotive. A new nut 1/4"x32 had to be made as the original could not be found. Further adjustment to the splashers will need to be made before the loco eill run as they still foul the cylinders. The strange pipework at the front is the temporary "Air line" supply point, it will not be there on completion !! |
 |
| The
front buffers were given a coat of primer in readiness to paint
later today. |
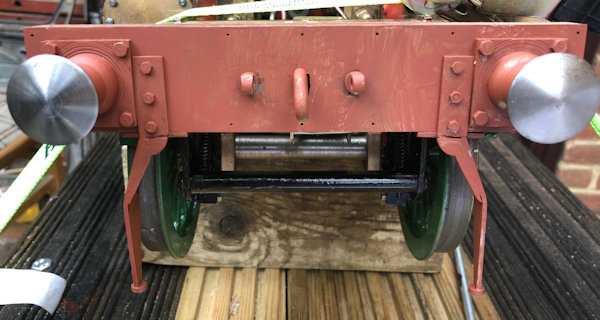 |
| The
first coat of red, Black and Lake. Next coat tomorrow. |
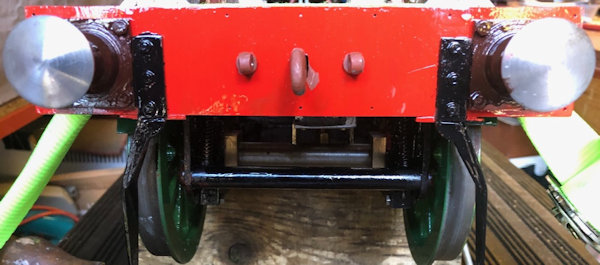 |
| 4th
September 2019 100 days since the return of the loco
for me to complete Re-assembly day and a lot of making fit !! In all so far four and a half hours !! Sadly I have been unable to find the smoke box door so a new casting has been ordered and should be delivered in the next few days. |
 |
| 5th
September 2019 101 days since
the return of the loco for me to complete The front cover plate below which is the steam oil tank needed to be kept in place. A friend suggested that we used a magnet so between us we did a good job of squaring the plate to fit well and fitting the magnet. |
 |
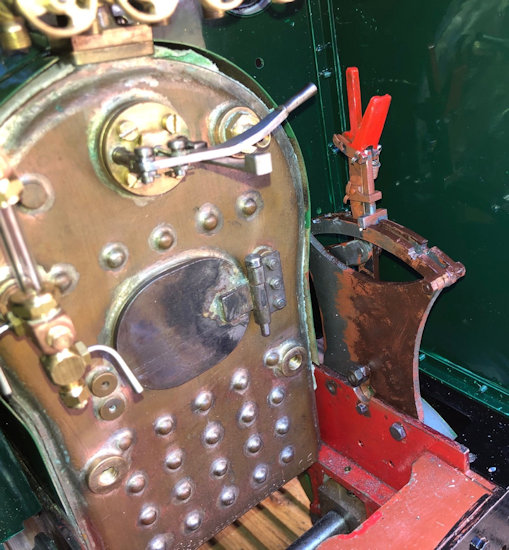
| With the re-assembly
completed it has been found that the regulator in the current
position will not operate. Good to find this out now rather than
later when going for a steam test !! |
 |
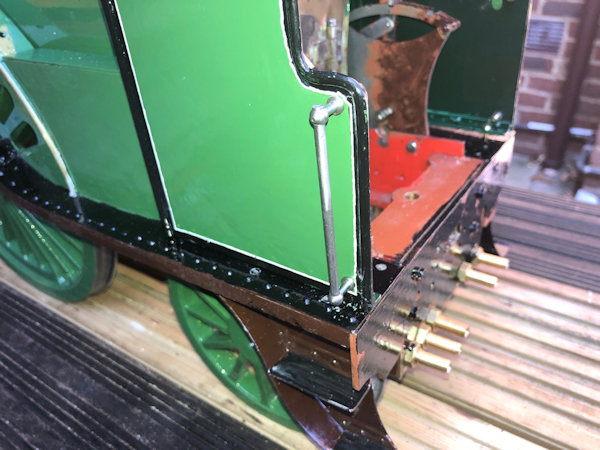
| The handles have been
fitted to the cab and to the tender. |
 |
| With
the uncertainty of finding this door a new one has been ordered
and then with further clearing up the door was found on the work
bench and in a pot the door pin and the hinge fixed brackets. What a relief. Note the oil filler has its cover in place ! |
 |
| The door is fitted
ready for the display on Saturday 7th September 2019 so no time
to sand blast and paint but that can all come later. Additionally to the finding the door was also finding the closing lock bar which sits vertically behind the door. |
 |
Link to next page |
|
